Monday, April 18, 2022

Punky Manor - Vintage Stock Car - Tribute Build

 Final Assembly


After getting the stainless steel headers installed, it's time to wrap up the last of the fab work and do some final assembly.

The stock front bumper mounts that were installed on the 1972 Gran Torino might take a 5 m.p.h. hit, but they would not hold up on a race track. I needed to design and build an entirely new bumper mounting structure. I started off by looking at the original bumper mounts and then I designed a stronger version made from tubular steel instead of pressed metal.


As you can see in the photos here, the factory original bumper mounts provide zero protection for the center of the bumper. On a dirt track race car, the chances are highly likely that the center of the front bumper is going to take some serious hits. Then again, the outer corners of the bumper would potentially take the hardest hits. It seems like any kind of hit on the front bumper with stock mounts would just buckle the bracket upward. I needed a new solution.


I started off by building a new set of brackets that bolted to factory holes in the bumper. The brackets consisted of 4 angled plates with rectangular tubing welded between them. Then I fabricated two large tube mounting plates that bolted up to the frame horns.


Next up I welded round steel tubing straight back from the rectangular tubing bumper bracket to the large frame horn plates.  


I then added angled round tubing down to the bottom of the frame horn plates and under the horizontal rectangular steel tubing bumper mount. I also added cross-bar tubing that will support the center of the bumper.


Then came the time to carefully line everything up and bolt it all together.


Below you can see the new bumper mount structure from the backside of the bumper and front valance panel.


And finally, the front end with the bumper and hand made steel grille riveted in place. 


One other final fabrication project was the aluminum fan shroud. The factory fan shroud was made of plastic and would not hold up long out on a dirt track. I made a paper pattern to test the fit, then plasma cut and formed the separate fan shroud parts. It all fits around that pretty blue aluminum flex fan rather nicely.


Seems like this is getting sort of long so I will wrap up the final fabrication steps in my next post. And I will probably add the best part to that post as well, the lettering job. Take care. 


Sunday, March 6, 2022

Punky Manor - Vintage Stock Car - Tribute Build

The Final Fabrication Details

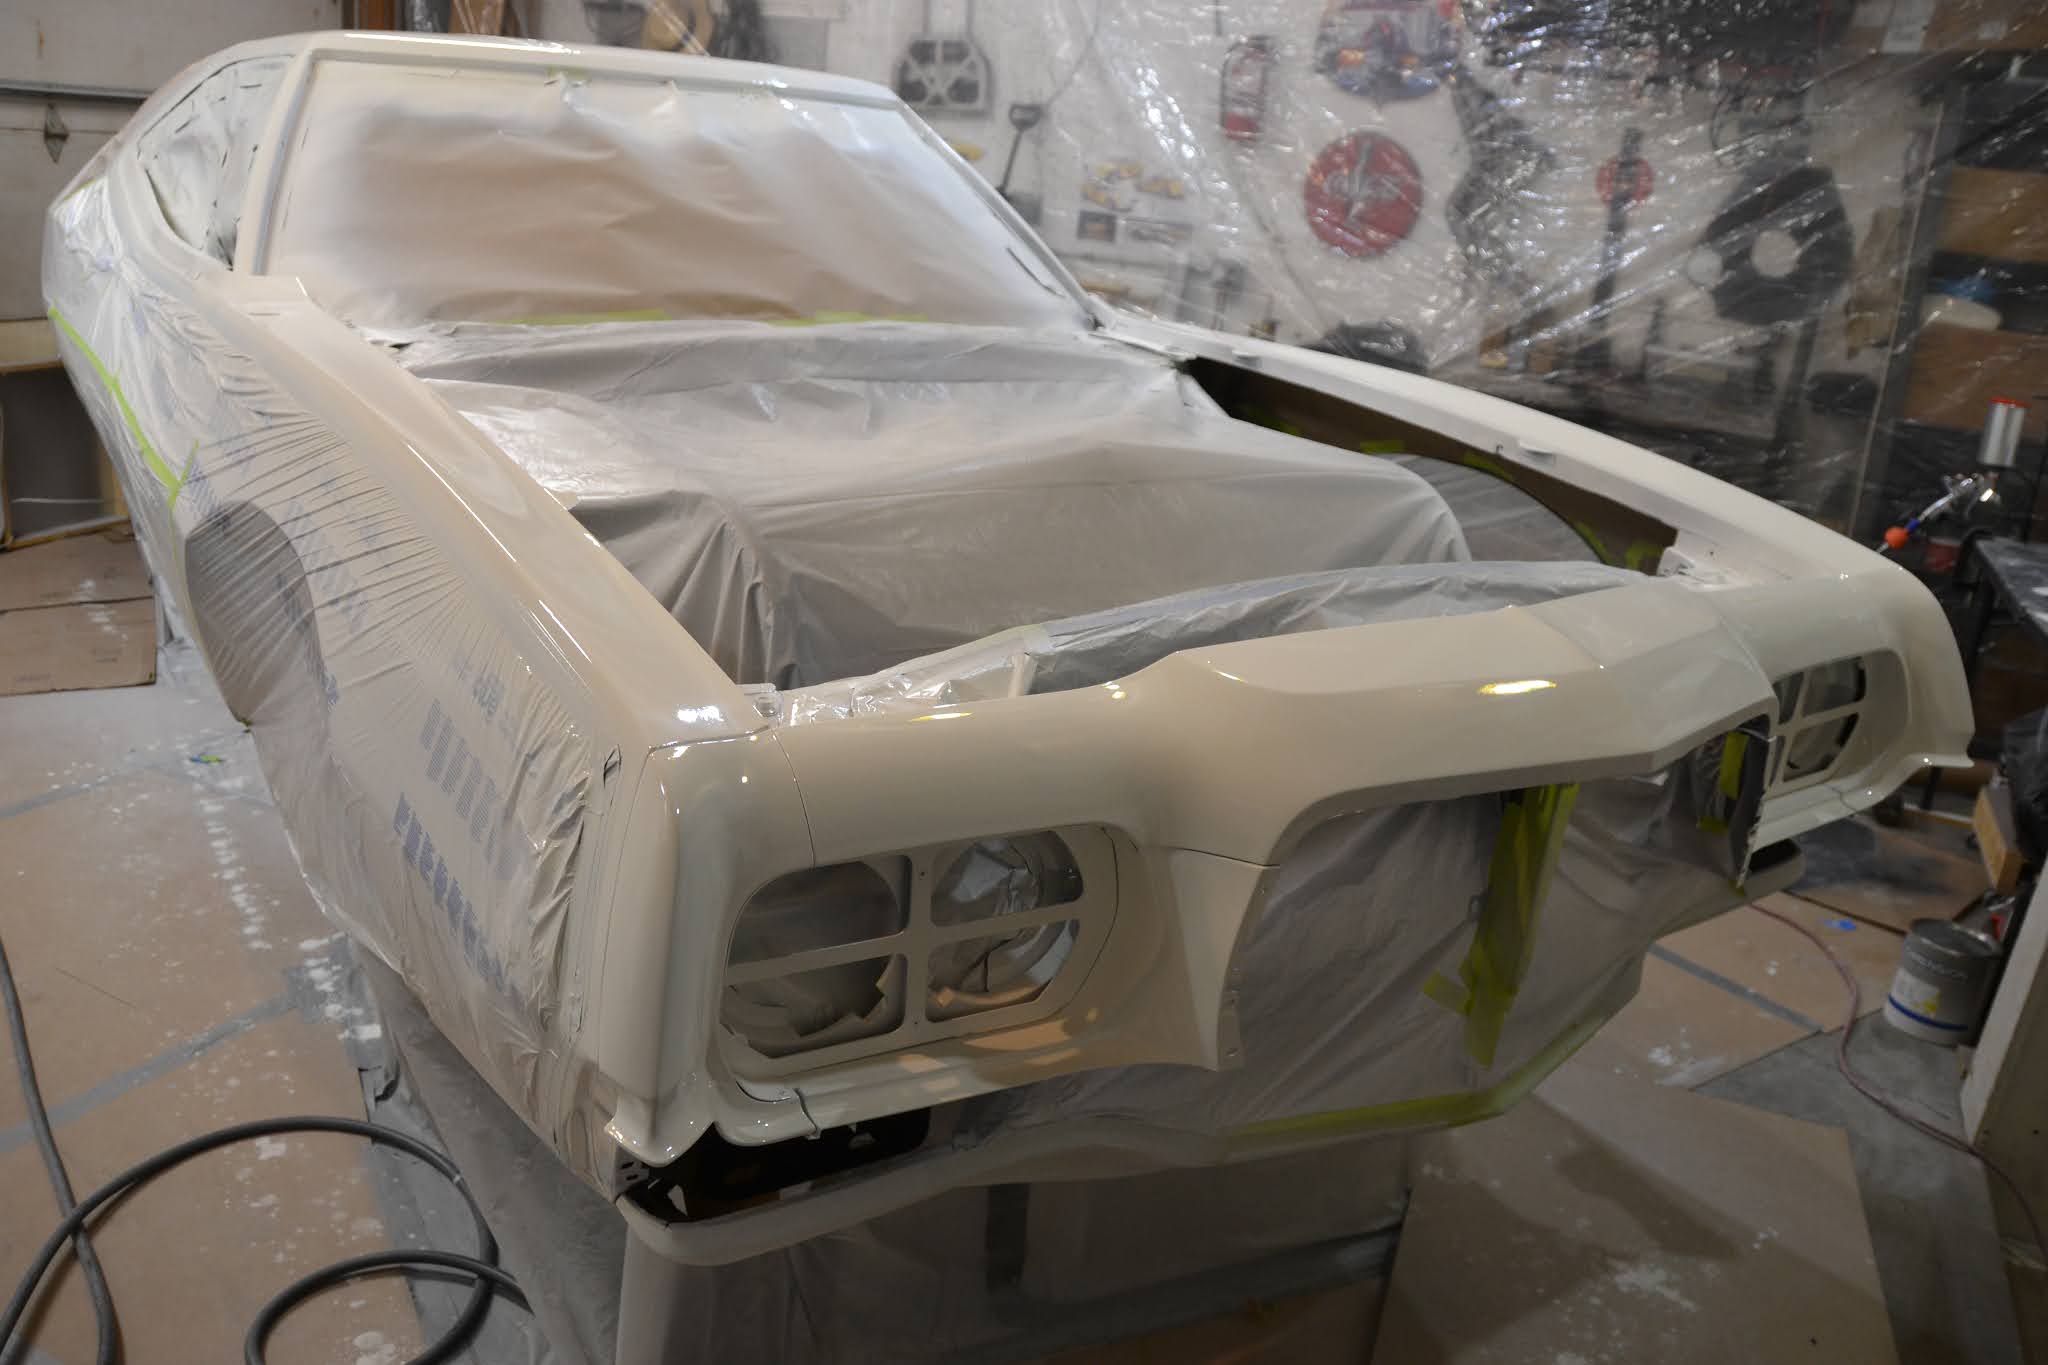
Now that the exterior paint is on the race car, it is time to shift to the final fabrication. There are two fairly involved fab jobs left to do. One of these is figuring out how to put exhaust on the car. The other is how to build a stronger bumper mounting system than Ford installed on the Torino from the factory.

I think I'll start with the more involved of the two, the exhaust. There seemed to be very few exhaust options for a 429 powered 1972 Gran Torino when I started looking into it. The stock 429 cast iron manifolds were the easiest to find but were the lowest performance option. There were also "shorty" stainless steel headers available that were a fairly affordable option. And finally, there were a few different aftermarket long-tube headers options.

The best option for stock manifolds were the 429 cu. in. Police Interceptor or Cobra Jet versions. They could be found but could be pretty expensive to buy. (see below)


The next option was the "shorty" style headers, which could be found all over eBay for a reasonable price. (see below) They were usually made of 304 stainless steel, so I wouldn't have to worry about them rusting.


The final option was aftermarket long-tube headers. The lowest price option for these headers started around $800 and went up form there. (see below) These options were either painted steel or ceramic coated (which were listed for just over $1000).


I decided that I would try a pair of the stainless steel shorty headers because they were the most affordable option. I ordered a set and when they arrived they looked pretty well made, but I had some severe doubts about them actually fitting in the car. After a futile attempt to get the motor (with shorties attached) in the the car, I made the decision to go in a new direction. I decided that I was going to build a custom set of stainless steel long-tube headers.

I broke out the 4 1/2" grinder, loaded it up with a new cut-off wheel and cut the set of shorty headers into a bunch of pieces. (see below)


I then contacted Stainless Steel Headers down in Lake City, MN and ordered up a bunch of mandrel bent 304 stainless steel tubes to start the fabrication.


I then started to test fit each piece of the cut-up shorties to see which tube fit best on each exhaust port. 


As you can see by the above pictures, the header tubes were pointing all over the place, usually not where I needed them to go. I spent about 60 hours cutting and test fitting all that parts that it took to get the tubes down to where I could start looking at how to connect them to the 4 into 1 collectors.

As you can see by the pictures below, each side of the engine was a very tight fit for the header tubes to pass through. I was kind of winging it through the whole process since I did not know anyone in my circle that had fabricated a custom pair of stainless steel headers!


In order to tack weld the tubes together, I ordered some .030 stainless steel welder wire for my little MIG welder. During this process I also learned that it was best to use tri-mix (helium/argon/Co2 blend) shielding gas to weld stainless steel, so I tracked down a tank.


It became apparent that I needed to find a way to hold the 4-into-1 collectors in their proper position, so I could make the connection from the collectors to the engine tubes. I designed a fully adjustable collector holder/stand and cut the parts out on a CNC router. I then slid the collector stand in place and slowly fabricated all the parts needed to finish each side of the headers.


After the collectors were properly fitted and tacked in place, I welded the the collector flange in place and then did the same to the 18" long exhaust pipes. I learned from a Youtube video that 18" tubes added behind the headers produced the best results on a dynamometer. I also fabricated exhaust hangers with silicone grommets.


Now it was time to remove all of the separate parts from the car so the final welding could be done. After spending about 60-80 hours of time fabricating this set of headers, I just didn't feel I had enough experience TIG welding stainless to weld them up myself. I contacted a local welding shop and found a younger guy with a lot more experience then me to do the final welding. Below is the tacked together set as they were delivered to the weld shop.


And below is a pic of the parts after picking them up from the welding shop. Even though it did cost quite a bit to have a shop weld these parts up, I was very pleased because they turned out great!


After installing the headers on the race car, we found no leaks, only very loud noise coming out the 3" exhaust pipes. And I do mean loud. My wife shot a video of the first test-fire and the sound coming out of the headers was shaking her phone pretty bad every time she went behind the race car.

In order to avoid having the neighbors call in noise complaints, we installed some 3" X 10" stainless steel racing "mufflers". It seemed to take the obnoxiously loud edge off a little bit. But you still know immediately when it starts up.


Next time, I will cover the process of fabricating a new front bumper mounting structure. I may also cover a few of the other fab and final assembly projects. Take care for now.


Thursday, March 18, 2021

Punky Manor - Vintage Stock Car - Tribute Build

Body and Paint - Part 4


Now that the Tribute Torino is up to the point where I can apply the topcoat colors, I'd like to expand on my paint color and paint system decision making. 

First up is the choice for paint colors.

Since I only have a couple pictures of my late Cousin Punky's original Torino race car, I am pretty much guessing what colors they used back then. When Punky built his Torino in early 1974, his Dad Neil Sr. was fixing up and selling early 1970's Ford pick-up trucks at his used car lot. I am sure they had some of those truck colors laying around. It also seems that they didn't paint the Torino with bright white? Wimbledon White was a very popular color for both Ford cars and trucks for decades, so that seemed the most logical choice.

On my first attempt at having colors mixed, I went to a local automotive paint store and we looked up the colors that were actually used on the 1972 - 1973 Ford Torinos. I had them mix up a pint of code 9C White and code 6C Medium Yellow Gold. Ford made 3 different colors of yellow for that year Torino and they looked different on every paint chip chart I looked at.

I bought a small amount of each color so I could do a color test before I spent a lot of money on paint that might not look right. I painted up a test panel and discovered that I didn't like the yellow color at all. It just looked too much like brown mustard and was too grey and dull (see below right). So, I painted another panel using a spray paint color called Marigold. The new color looked a lot closer to the yellow in the photos of Punky's car.


Another thing that I discovered after painting and lettering the first test panel was that the lettering I used for Punky's name was too thin. I am using this lettering on the roof of the race car, so I want it to show up well.

More about colors coming up, but let's talk about paint type. Most modern cars are painted with catalyzed urethane base color with catalyzed clear over the base. No offense to anyone out there, but I'm building a tribute to a car that was built and painted in 1974. Base/clear paints were not used until the 1980's and then they were only sprayed on high-end luxury cars. Punky's original Torino was most likely painted with single-stage Acrylic Enamel. Not sure about anyone else, but I can tell the difference between the two systems by looking at the car. It would be like putting computer cut vinyl lettering on a vintage race car instead of hand painted lettering. It has to look period correct.

Now I had to think about how to get the two different colors on the car. I have a high-end SATA professional spray gun, so that part was covered. The weak link was my smaller sized air compressor. The weather was also a factor. It was going into the end of September and early October and I had to have high enough temps to spray the paint. 

I think it would be regular practice to paint the whole car white first, then mask off the white areas and paint the yellow second. I decided to mask off where the yellow was going and only paint the white areas first. I was betting that this would be a better approach so my small air compressor could keep up. 

The end of September (2020) rolled around and I caught a nice warm day, opened up the white paint and it was not even close to what I had asked for. I was looking at a gallon of paint that looked like 1984 computer beige, not Wimbledon White. I had to run back to the paint store and buy another gallon of bright white acrylic enamel. I then used the ugly beige color to tint the bright white. Finally I could get some proper Wimbledon White paint on the car.


Next up it was time to mask off all the Wimbledon White parts of the car and paint the yellow. For the yellow color, I just took the test panel to the paint shop and found the closest match that I could. I wasn't too worried about where the two colors butt up against each other because I was planning on painting a 1/4" black hand painted line over the seam.


After letting the white paint set-up for a couple weeks, I was ready to mask off the white areas and get the yellow paint sprayed on while the weather was still good. I caught a break on October 9, 2020 with higher than normal temps and got the 2nd color shot on the race car. 


After 5 years of chasing parts, replacing most of the body, and pretty much rebuilding everything under the exterior sheet metal, the race car finally has paint on it. I can't even begin to guess how many hours I have invested. I do however have a really close idea on what the cost of the project is. Through the whole project, I have been saving receipts and entering them into the Quicken program, to track what I've spent. Let's just say it held up to my old rule..."figure out what you think it will cost and triple it". 

Next up is getting some custom built stainless steel headers on the engine. I have about 50 more little projects to complete before I can finally do the hand lettering. This, by far will be my most favorite thing to do on the entire project!

Take care for now.