
Body and Paint - Part 4
Now that the Tribute Torino is up to the point where I can apply the topcoat colors, I'd like to expand on my paint color and paint system decision making.
First up is the choice for paint colors.
Since I only have a couple pictures of my late Cousin Punky's original Torino race car, I am pretty much guessing what colors they used back then. When Punky built his Torino in early 1974, his Dad Neil Sr. was fixing up and selling early 1970's Ford pick-up trucks at his used car lot. I am sure they had some of those truck colors laying around. It also seems that they didn't paint the Torino with bright white? Wimbledon White was a very popular color for both Ford cars and trucks for decades, so that seemed the most logical choice.
On my first attempt at having colors mixed, I went to a local automotive paint store and we looked up the colors that were actually used on the 1972 - 1973 Ford Torinos. I had them mix up a pint of code 9C White and code 6C Medium Yellow Gold. Ford made 3 different colors of yellow for that year Torino and they looked different on every paint chip chart I looked at.
I bought a small amount of each color so I could do a color test before I spent a lot of money on paint that might not look right. I painted up a test panel and discovered that I didn't like the yellow color at all. It just looked too much like brown mustard and was too grey and dull (see below right). So, I painted another panel using a spray paint color called Marigold. The new color looked a lot closer to the yellow in the photos of Punky's car.

Another thing that I discovered after painting and lettering the first test panel was that the lettering I used for Punky's name was too thin. I am using this lettering on the roof of the race car, so I want it to show up well.
More about colors coming up, but let's talk about paint type. Most modern cars are painted with catalyzed urethane base color with catalyzed clear over the base. No offense to anyone out there, but I'm building a tribute to a car that was built and painted in 1974. Base/clear paints were not used until the 1980's and then they were only sprayed on high-end luxury cars. Punky's original Torino was most likely painted with single-stage Acrylic Enamel. Not sure about anyone else, but I can tell the difference between the two systems by looking at the car. It would be like putting computer cut vinyl lettering on a vintage race car instead of hand painted lettering. It has to look period correct.
Now I had to think about how to get the two different colors on the car. I have a high-end SATA professional spray gun, so that part was covered. The weak link was my smaller sized air compressor. The weather was also a factor. It was going into the end of September and early October and I had to have high enough temps to spray the paint.
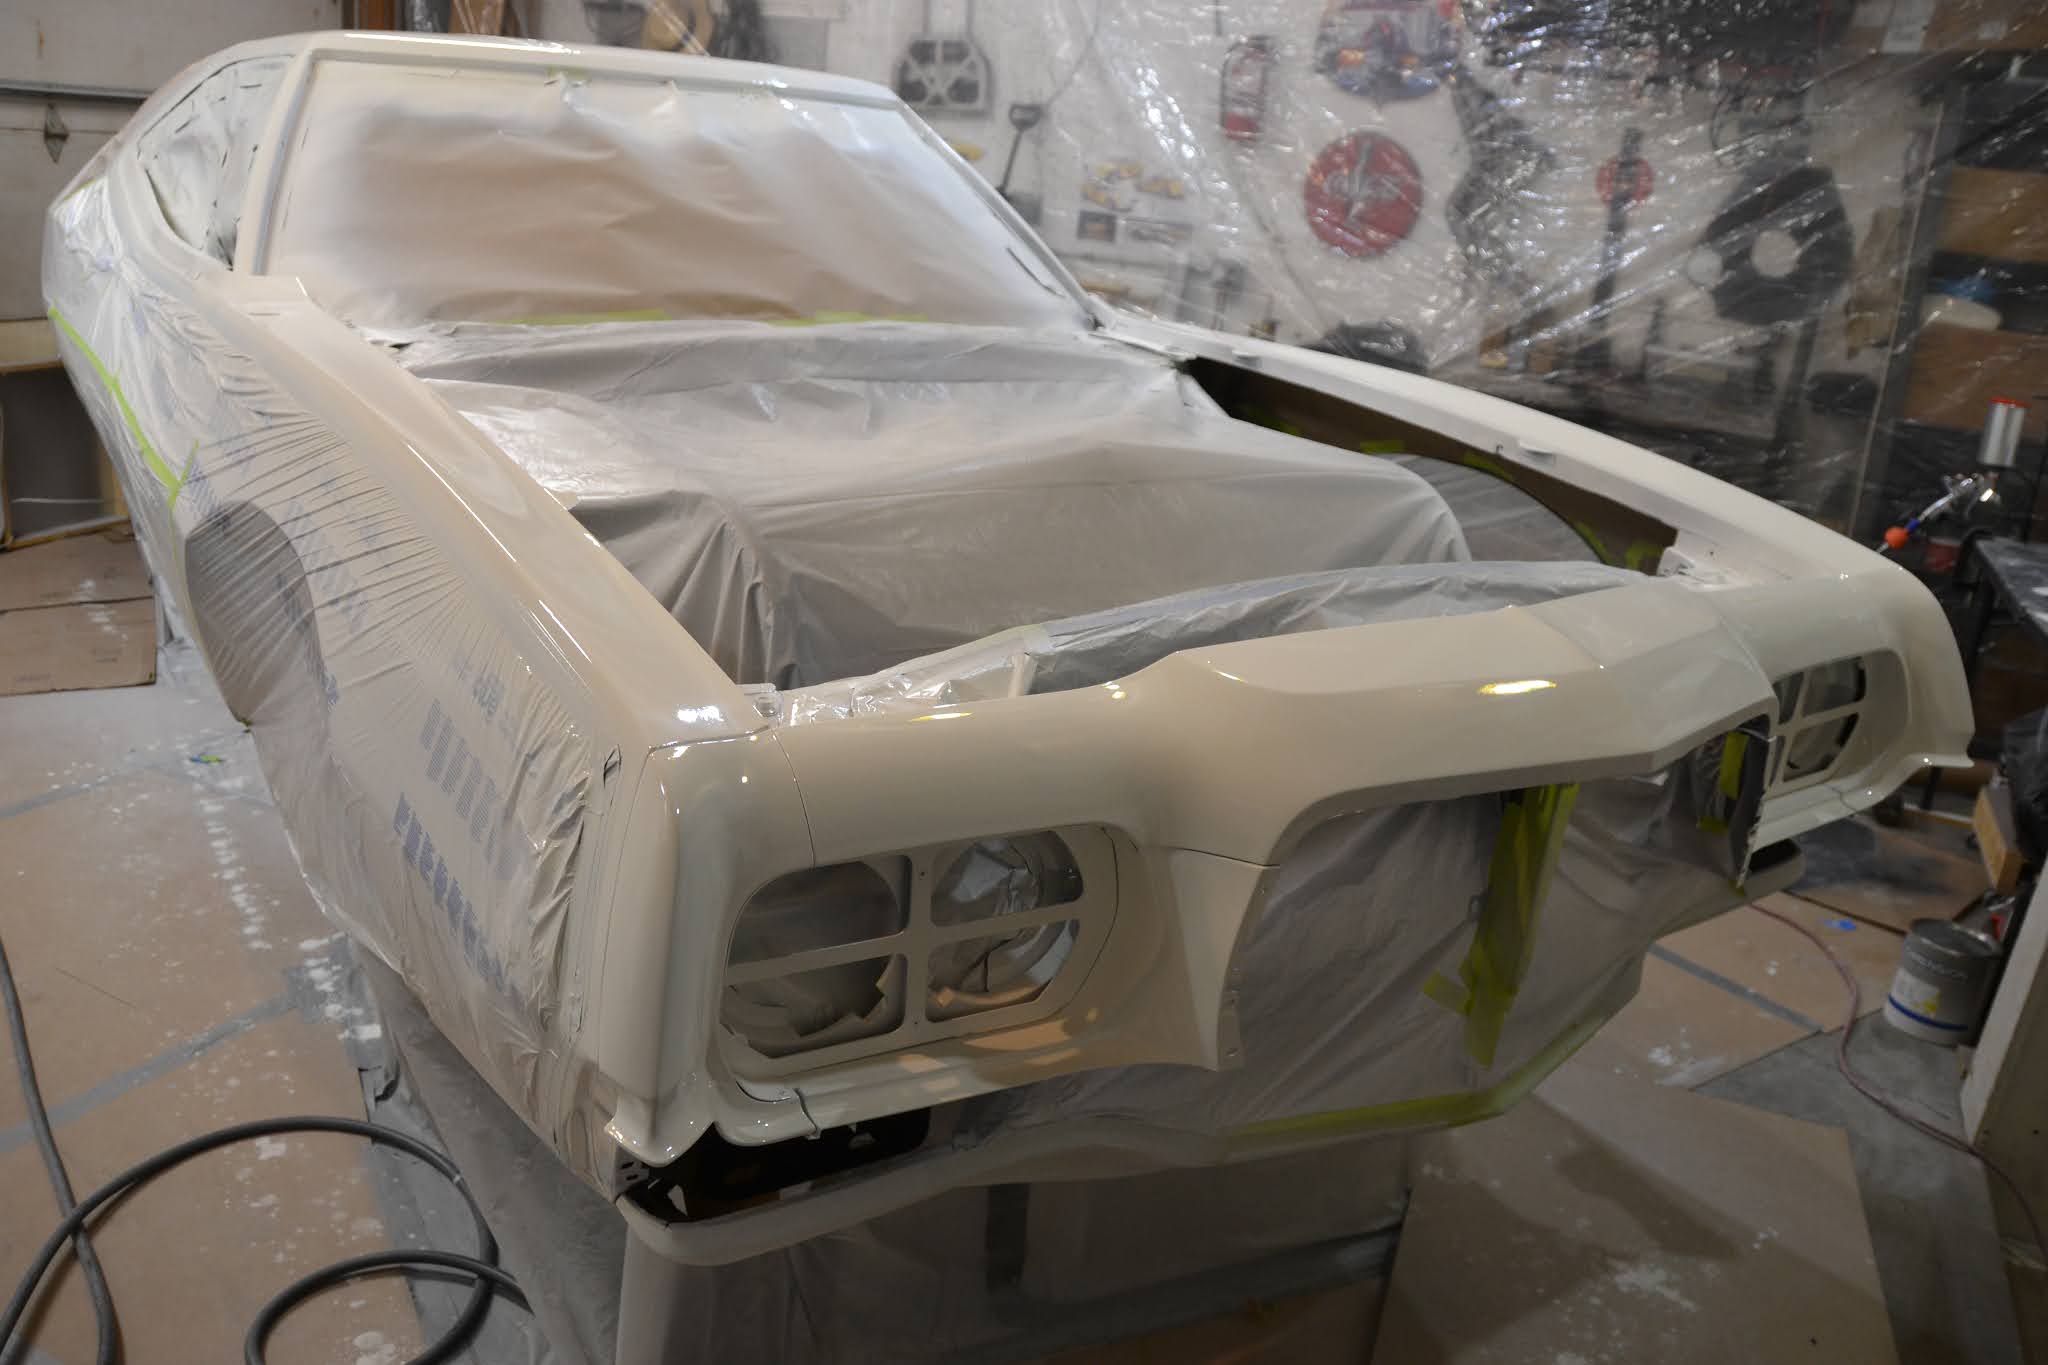
I think it would be regular practice to paint the whole car white first, then mask off the white areas and paint the yellow second. I decided to mask off where the yellow was going and only paint the white areas first. I was betting that this would be a better approach so my small air compressor could keep up.
The end of September (2020) rolled around and I caught a nice warm day, opened up the white paint and it was not even close to what I had asked for. I was looking at a gallon of paint that looked like 1984 computer beige, not Wimbledon White. I had to run back to the paint store and buy another gallon of bright white acrylic enamel. I then used the ugly beige color to tint the bright white. Finally I could get some proper Wimbledon White paint on the car.


Next up it was time to mask off all the Wimbledon White parts of the car and paint the yellow. For the yellow color, I just took the test panel to the paint shop and found the closest match that I could. I wasn't too worried about where the two colors butt up against each other because I was planning on painting a 1/4" black hand painted line over the seam.


After letting the white paint set-up for a couple weeks, I was ready to mask off the white areas and get the yellow paint sprayed on while the weather was still good. I caught a break on October 9, 2020 with higher than normal temps and got the 2nd color shot on the race car.


After 5 years of chasing parts, replacing most of the body, and pretty much rebuilding everything under the exterior sheet metal, the race car finally has paint on it. I can't even begin to guess how many hours I have invested. I do however have a really close idea on what the cost of the project is. Through the whole project, I have been saving receipts and entering them into the Quicken program, to track what I've spent. Let's just say it held up to my old rule..."figure out what you think it will cost and triple it".
Next up is getting some custom built stainless steel headers on the engine. I have about 50 more little projects to complete before I can finally do the hand lettering. This, by far will be my most favorite thing to do on the entire project!
Take care for now.
No comments:
Post a Comment