
Three steps back for each step forward - The Process
When I originally acquired the Tribute Torino, I thought it was going to be a pretty straight forward build. Just clean things up a bit, replace a few panels and then paint it up. After hundreds of hours spent on this labor of love, I am still trying to figure out what to do next.
Last year I spent about 8 months just fixing the interior, floor, trunk area, and engine compartment. Earlier this year, I started to think that all I had left to do was replace most of the body, prep for paint, and then get the main colors sprayed on. Once again, I miscalculated how many other things needed to be addressed before I could put all the new body panels on.
I decided to start from the back of the car and work my way forward. When I initially brought the car up north to put it in storage, we ended up damaging the only good corner of the car. We were rolling the Torino off the car transport trailer (with no brakes) and it missed our tire blocks and instead crashed into an 8" X 8" wooden post. This collision flattened out the (hard to repair) rear quarter section just above the drivers side tail light.

Since I have not replaced many entire car bodies before, I decided to start with the smaller patch panel on the drivers side rear quarter and work my way up from there. I picked up the upper portion of the rear quarter at a Ford salvage yard over in Hastings, MN. off the blue/gold car below.


Above is a photo of all the panels I have purchased over the last 5 years. I have removed all the old paint, cut off all the dead weight, and then shot the panels with white primer.
I first marked off where the new patch panel was going to be located on the race car. I used a cut-off wheel to cut the old metal off the car, then welded in the patch panel. I used a pneumatic punch/flange tool to create the overlap seam and punch "spot" weld holes.


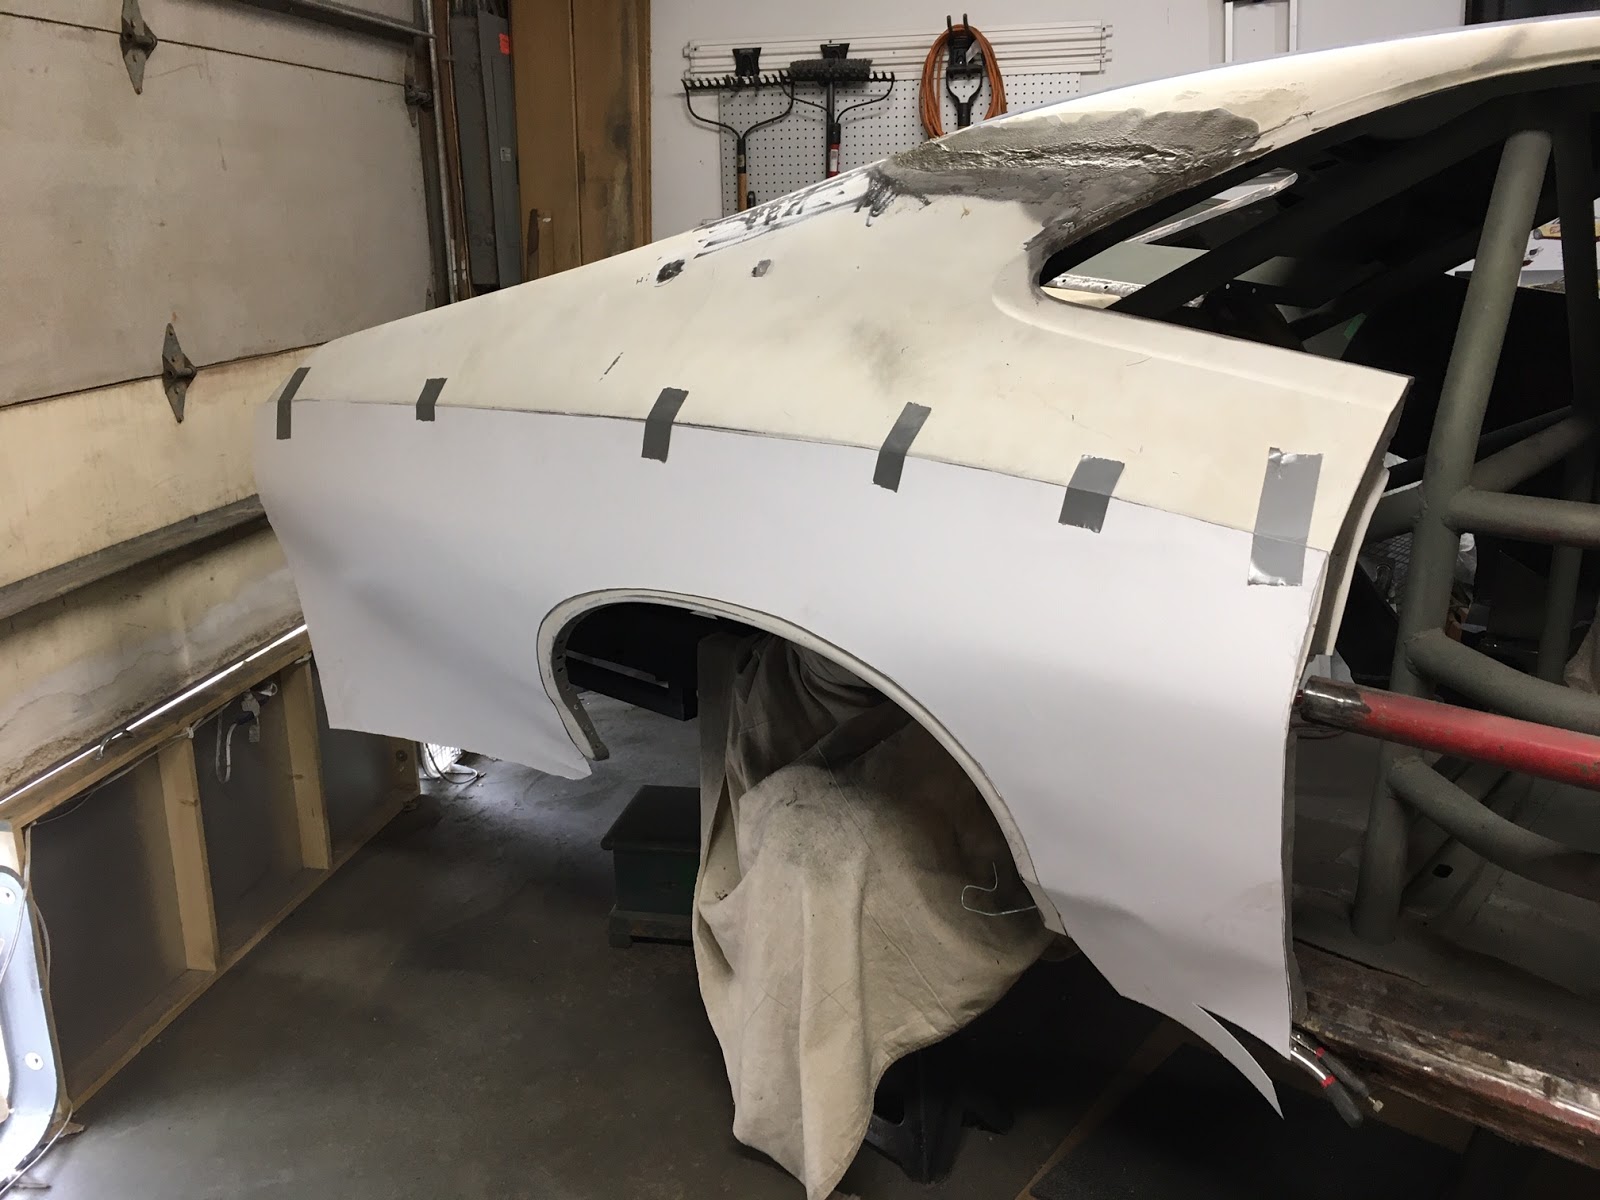
Next up, I started in on the worst side of the car...the passenger side. Apparently the whole passenger side of the car had been through some tough times and been through some questionable repair sessions!

Finding good sheet metal for this 40+ year old car was pretty challenging. I was able to find two different passenger side rear quarter panels and then weld them together to make one full quarter.


After installing the new rear quarter, I made a paper pattern and then cut the wheel opening large enough to fit the McCreary racing tires. I used a homemade tool to roll a 1/4" lip around the wheel opening.


Yes, the picture above is actually Great Stuff spray foam that someone pumped into the rocker panel.
The new rockers were carefully located, welded on, and then I tack welded tabs on to hold the doors in place for test fits.

Well, I would like to say that I am now ready to weld the doors and fenders on and finish all the body work, but that is not the case. I need to install a new rear brake proportioning valve and decided to place it next to the seat, so it is easy to adjust. Before I weld the drivers door on though, I need to run the rear brake lines through the interior of the race car. Before I run the brake lines, I really should paint the interior, the underside, the engine bay, and the trunk area with semi-gloss black paint.
So I need to perform about 20 or 30 more steps before I can finish installing the body panels. I will include a couple photos here with the body panels hung on the car for a fit test.


Thanks for stopping by and take care until next time!