Final Assembly
After getting the stainless steel headers installed, it's time to wrap up the last of the fab work and do some final assembly.
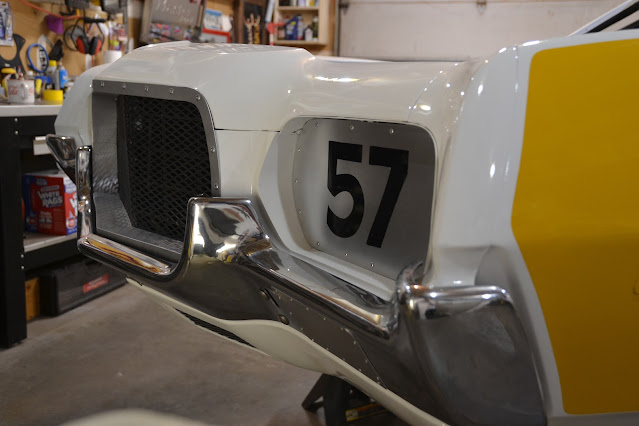
The stock front bumper mounts that were installed on the 1972 Gran Torino might take a 5 m.p.h. hit, but they would not hold up on a race track. I needed to design and build an entirely new bumper mounting structure. I started off by looking at the original bumper mounts and then I designed a stronger version made from tubular steel instead of pressed metal.
As you can see in the photos here, the factory original bumper mounts provide zero protection for the center of the bumper. On a dirt track race car, the chances are highly likely that the center of the front bumper is going to take some serious hits. Then again, the outer corners of the bumper would potentially take the hardest hits. It seems like any kind of hit on the front bumper with stock mounts would just buckle the bracket upward. I needed a new solution.
I started off by building a new set of brackets that bolted to factory holes in the bumper. The brackets consisted of 4 angled plates with rectangular tubing welded between them. Then I fabricated two large tube mounting plates that bolted up to the frame horns.
Next up I welded round steel tubing straight back from the rectangular tubing bumper bracket to the large frame horn plates.
I then added angled round tubing down to the bottom of the frame horn plates and under the horizontal rectangular steel tubing bumper mount. I also added cross-bar tubing that will support the center of the bumper.
Then came the time to carefully line everything up and bolt it all together.
Below you can see the new bumper mount structure from the backside of the bumper and front valance panel.
One other final fabrication project was the aluminum fan shroud. The factory fan shroud was made of plastic and would not hold up long out on a dirt track. I made a paper pattern to test the fit, then plasma cut and formed the separate fan shroud parts. It all fits around that pretty blue aluminum flex fan rather nicely.


