The Final Fabrication Details
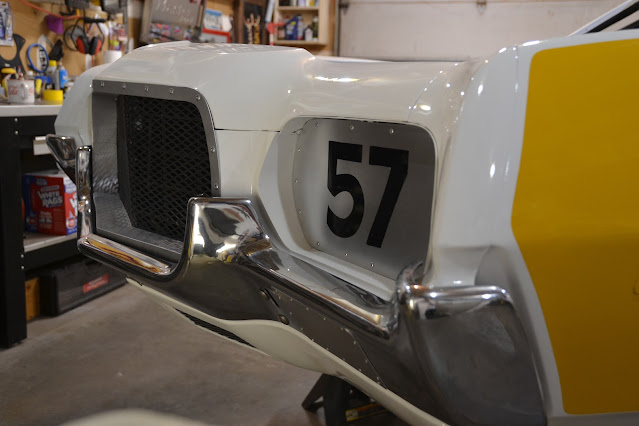
Now that the exterior paint is on the race car, it is time to shift to the final fabrication. There are two fairly involved fab jobs left to do. One of these is figuring out how to put exhaust on the car. The other is how to build a stronger bumper mounting system than Ford installed on the Torino from the factory.
I think I'll start with the more involved of the two, the exhaust. There seemed to be very few exhaust options for a 429 powered 1972 Gran Torino when I started looking into it. The stock 429 cast iron manifolds were the easiest to find but were the lowest performance option. There were also "shorty" stainless steel headers available that were a fairly affordable option. And finally, there were a few different aftermarket long-tube headers options.
The best option for stock manifolds were the 429 cu. in. Police Interceptor or Cobra Jet versions. They could be found but could be pretty expensive to buy. (see below)
The next option was the "shorty" style headers, which could be found all over eBay for a reasonable price. (see below) They were usually made of 304 stainless steel, so I wouldn't have to worry about them rusting.
The final option was aftermarket long-tube headers. The lowest price option for these headers started around $800 and went up form there. (see below) These options were either painted steel or ceramic coated (which were listed for just over $1000).
I decided that I would try a pair of the stainless steel shorty headers because they were the most affordable option. I ordered a set and when they arrived they looked pretty well made, but I had some severe doubts about them actually fitting in the car. After a futile attempt to get the motor (with shorties attached) in the the car, I made the decision to go in a new direction. I decided that I was going to build a custom set of stainless steel long-tube headers.
I broke out the 4 1/2" grinder, loaded it up with a new cut-off wheel and cut the set of shorty headers into a bunch of pieces. (see below)
I then contacted Stainless Steel Headers down in Lake City, MN and ordered up a bunch of mandrel bent 304 stainless steel tubes to start the fabrication.
I then started to test fit each piece of the cut-up shorties to see which tube fit best on each exhaust port.
As you can see by the above pictures, the header tubes were pointing all over the place, usually not where I needed them to go. I spent about 60 hours cutting and test fitting all that parts that it took to get the tubes down to where I could start looking at how to connect them to the 4 into 1 collectors.
As you can see by the pictures below, each side of the engine was a very tight fit for the header tubes to pass through. I was kind of winging it through the whole process since I did not know anyone in my circle that had fabricated a custom pair of stainless steel headers!
In order to tack weld the tubes together, I ordered some .030 stainless steel welder wire for my little MIG welder. During this process I also learned that it was best to use tri-mix (helium/argon/Co2 blend) shielding gas to weld stainless steel, so I tracked down a tank.
It became apparent that I needed to find a way to hold the 4-into-1 collectors in their proper position, so I could make the connection from the collectors to the engine tubes. I designed a fully adjustable collector holder/stand and cut the parts out on a CNC router. I then slid the collector stand in place and slowly fabricated all the parts needed to finish each side of the headers.
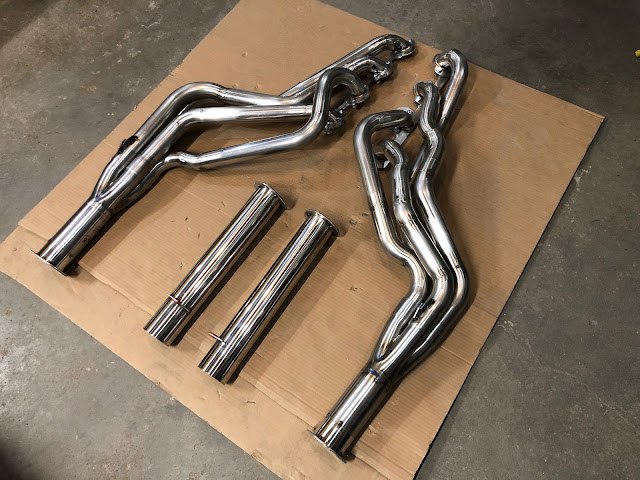
After the collectors were properly fitted and tacked in place, I welded the the collector flange in place and then did the same to the 18" long exhaust pipes. I learned from a Youtube video that 18" tubes added behind the headers produced the best results on a dynamometer. I also fabricated exhaust hangers with silicone grommets.
Now it was time to remove all of the separate parts from the car so the final welding could be done. After spending about 60-80 hours of time fabricating this set of headers, I just didn't feel I had enough experience TIG welding stainless to weld them up myself. I contacted a local welding shop and found a younger guy with a lot more experience then me to do the final welding. Below is the tacked together set as they were delivered to the weld shop.
And below is a pic of the parts after picking them up from the welding shop. Even though it did cost quite a bit to have a shop weld these parts up, I was very pleased because they turned out great!
After installing the headers on the race car, we found no leaks, only very loud noise coming out the 3" exhaust pipes. And I do mean loud. My wife shot a video of the first test-fire and the sound coming out of the headers was shaking her phone pretty bad every time she went behind the race car.
In order to avoid having the neighbors call in noise complaints, we installed some 3" X 10" stainless steel racing "mufflers". It seemed to take the obnoxiously loud edge off a little bit. But you still know immediately when it starts up.
Next time, I will cover the process of fabricating a new front bumper mounting structure. I may also cover a few of the other fab and final assembly projects. Take care for now.


