Monday, November 27, 2017

Punky Manor - Vintage Stock Car - Tribute Build

Aesthetics - details make the difference


In my last post I mentioned the rules and safety guidelines that I will follow while building the Vintage Late Model-Tribute Torino. Those same rules and guidelines are also going to drive the overall "look" and design of the car. 

There are several major points in the rule books that I would like to cover in the next couple of posts. Some of these points are related to the major evolution of dirt track racing that has taken place since 1974. I will also cover some of the finer details that I am working on to keep the Tribute car as authentic and period correct as I can. 

Just a little disclaimer I will toss in here. Some people might not agree with some of my views on the topic of modern vs. vintage race cars, I am just putting this information out here as a reference for how I am building this particular car. And it also might explain a bit of why I am building this car as well.

One sentence that really stuck out for me in the 1982 Red Cedar Speedway - Official Rules was; "Keep it Looking like a car".  There were several rules (back in the era when Punky raced the Torino), that kept a race car looking like a factory car.

A few of them are as follows;

1. Visual stock 1972 through 1982 U.S. made cars only.
2. Cars must have complete front fenders & hood with no sharp edges.
3. No hood or roof spoilers. Rear spoilers and fins may not be more than 42" total height from ground and may not extend past the sides of the body or past the rear bumper. No extreme roof line variations allowed.
4. Chrome Bumpers are required and may be reinforced to provide safe attachment and proper protection, but must remain in stock position. Nothing can be sticking out the ends.
5. All cars must have a neat paint job and must have identifying numbers painted on the top, the right, and the left sides. The drivers name must be printed (paint) in 4" letters on the right side of the car. Numbers shall be in contrasting colors to the car's paint. It is recommended that all cars have a light colored paint job.
6. There must be a complete set of floor boards in the driver's compartment.

Back in the early 1980's the WISSOTA Promoters Association was founded with the intent to offer uniform rules for the promoters and drivers involved in the Late Model division. Soon after it decided to do the same for the Modified class. So the rules and guidelines I mentioned above were pretty much retired. The era of "Keep it looking like a car" ended with the introduction of the Wissota rule changes.

One of my favorite things about going to the races in the 1970's was waiting to see what types of cars were going to show up at the first race. Might be a Mustang Fastback, Dodge Challenger, Chevelle, Nova, Barracuda, Javelin, Falcon, or maybe even a Corvette.

In 1974 my favorite car was the yellow and white Number 57 Ford Torino, driven by Punky (Neil Jr.) Manor.

The images below show the transformation from the 1970's dirt track cars to the modern Wissota Late Models.


My major goal in building the Punky Manor Tribute Torino is to inspire people who see the car to be transported back to the mid 70's and remember the great old race cars of that era. I can only achieve that goal by keeping the overall build of the race car as period-correct as possible. 

This type of "attention" to detail can add quite a bit of research time and end up raising the cost of the build, but to me it is worth the extra effort and expense.

Here is a partial list of items that I am planning to apply to the build;

1. No base coat/clear coat (2 stage) paint will be used - Single Stage Paint Only. Base-coats were not even developed in 1974 - I can spot the difference, so I will be painting the Torino with Acrylic Enamel single stage paint. 
2. No vinyl lettering will be applied to this car - The only vinyl going on the Torino is the small product decal stickers that Punky used on his Galaxie in 1973. The rest of the car will be hand lettered using enamel paint.
3. No Modern racing wheels. If you look at the photos above you will see that the 70's cars have painted steel wheels, not polished aluminum or chrome with round holes.
4. Engine components and accessories will be as stock as possible. No aluminum brackets, mini starters, no modern intakes or polished carbs, no electric fans, oil coolers, or aluminum radiator.
5. Vintage tires to be used for shows - I have a set of McCreary racing tires that I will use for shows and parades. On the Track I will most likely run American Racer dirt tires.
6. No rear spoiler. Did not come on the car and wasn't used back then. 

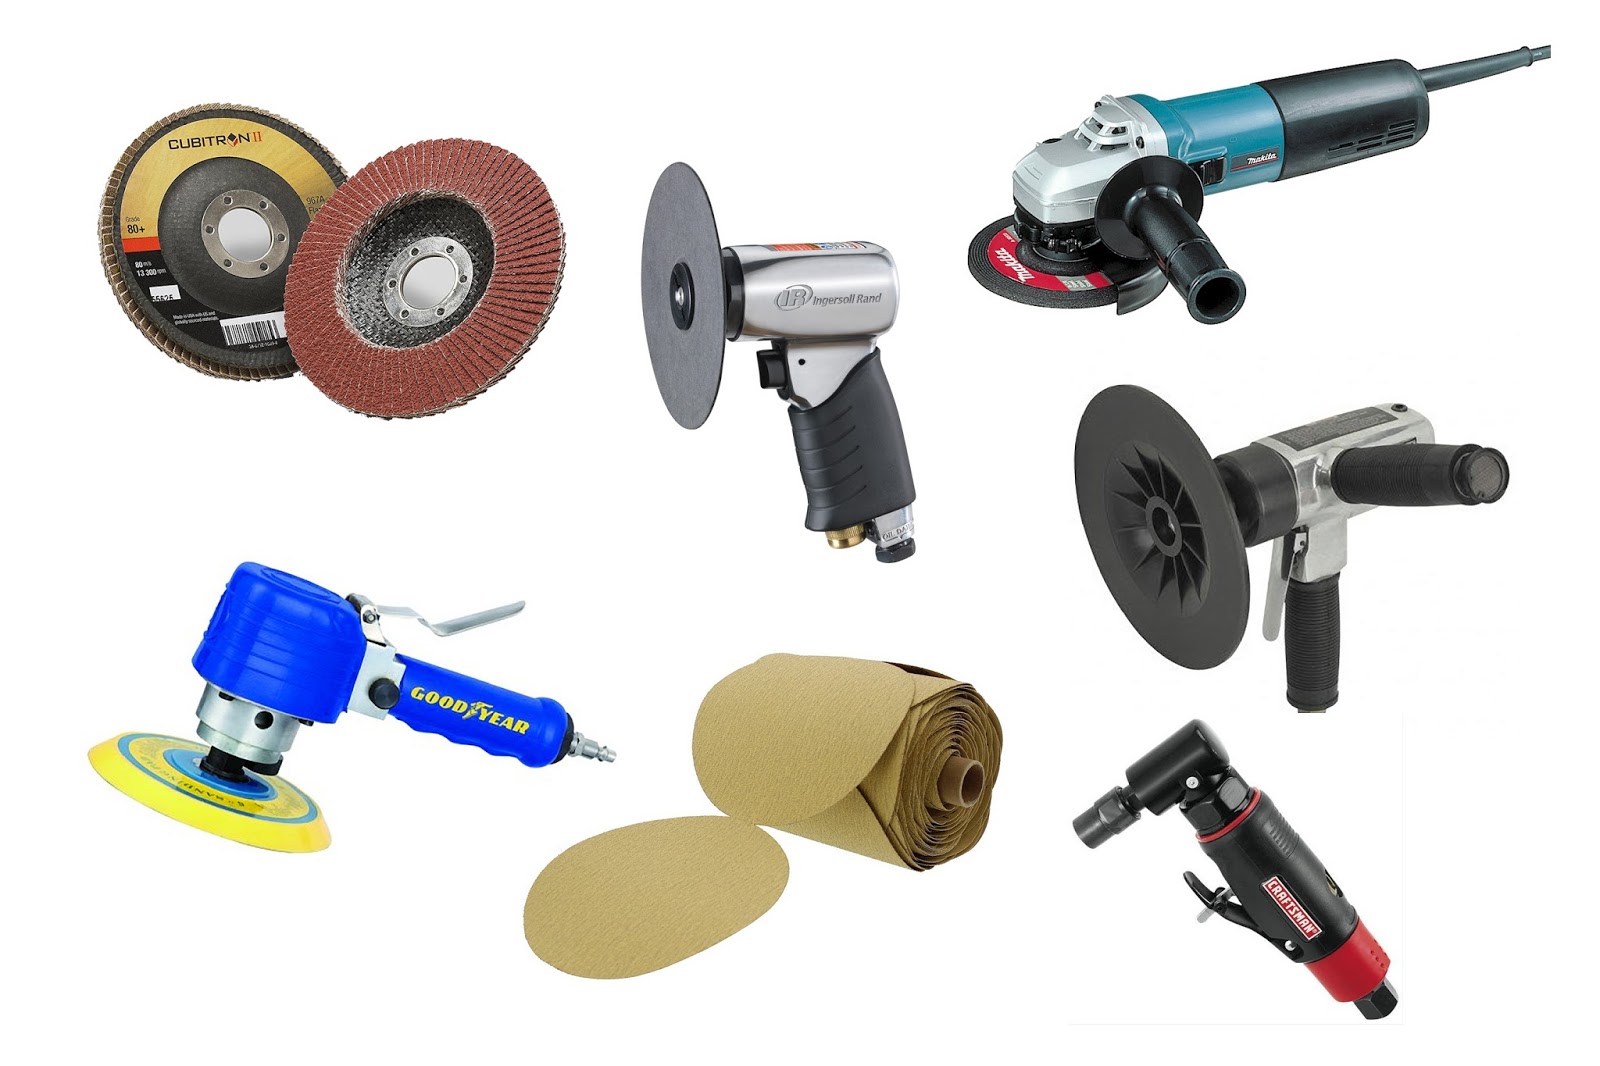
Below are images showing vintage era parts on the left and modern racing equipment on the right. 


In my next post I will point out some of the specific parts I am using on the Tribute Torino and why they make a difference. Take Care for now. 


Wednesday, November 15, 2017

Punky Manor - Vintage Stock Car - Tribute Build

Safety - following the rules


Time to cover the safety gear I will need to install and or wear in the Torino Tribute race car.

My intention is to eventually race the Torino in the Northern Vintage Stock Car Racers Club events. They have their own rules for Full-Bodied Late Models that I will need to follow. In addition, I was able to get a copy of the 1982 Official Rule book from the Red Cedar Speedway in Menomonie, WI. The '82 rules seem to be very similar to what I remember were the guidelines in 1974, when Punky raced the original Torino.

Here are a few of the rules and guidelines that I need to follow to run the Tribute car in the NVSR club races;

1. Snell SA-2005 or newer approved helmet with face shield and in good condition. 
2. SFI rated fire suit, gloves and shoes in good condition. 
3. Approved fuel cell properly mounted in car. 
4. Racing seat belts in good condition less than three years old.
5. Six point roll cage with a two bar minimum on driver’s side. 
6. High backed race seat that extends above head. 
7. Front window area screened for driver protection. 
8. Driver side window nets for full bodies.
9. Window openings allowing exit from both sides. 
10. Batteries mounted secure and away from driver. 
11. Electric disconnect switch marked and easy to reach.
12. Electric fuel pumps wired into oil pressure switch. 
13. Fuel shut off marked and easy to reach. 
14. Drive shafts and weights numbered and painted white. 
15. Working brakes for four wheels and one wheel shut off allowed. 

I would also like to build the Tribute Torino so it follows the rulebook from the era that the original car was raced, the 1974 season. Here are a few of the main rules I will be following while I build the car;

1. Roll bars must be installed in all cars and are to be of pipe at least 1 3/4" outside diameter (the present cage will be updated to meet the 1982 specifications).
2. There must be a complete set of floorboards in the drivers side.
3. All cars must have a driveshaft hanger near the front of the driveshaft made of metal at least 1/4" thick and 1" wide.
4. Nerf Bars - One bar will be allowed on each side made of 1 1/2" outside diameter pipe or square tubing or 1" X 2" rectangular tubing. No sharp edges will be allowed.
5. Chrome bumpers are required and may be reinforced. Bumpers must remain in stock position.
6. Cars must have complete front fenders and hood with no sharp edges.
7. No hood or roof spoilers. No extreme roof line variations allowed. Keep it looking like a car.
8. All cars must have a neat paint job and have identifying numbers painted on the top, the right and left sides.

Below are most of the items that either have been purchased or will be purchased in the near future.
  
In order to be safe while racing the car, I will need to invest in some protective equipment. 

The most expensive part of that equipment is the helmet. Helmets can cost anywhere from a couple hundred dollars up to a few thousand dollars. I have decided to go with a basic white Bell full-face helmet, similar in style to the one Punky used back in the 70's. 

In picking out a racing suit, I have to decide on the level of protection that I need and what the rule book requires to race. The standard for measuring the safety level for a racing suit is the SFI foundation Specification 3.2A. A driver suit that is certified to meet the SFI spec has been laboratory tested and has passed the requirements of that test.

 Basically the higher the rating number, the longer the driver can be exposed to both direct flame and radiant heat before a second degree burn occurs. An SFI rating of 3.2/1 is 3 seconds, and a rating of 3.2/20 is 40 seconds.

Below is the items that I have picked out to purchase towards the completion of the race car build.


There are several other things to consider as far as safety is concerned. In general I need to take the time to make sure that the fabrication is done well. There is a balance to consider between building things light enough to race and heavy enough to withstand impact.

I will be building tubular frames around the fuel cell, mounting both front and rear bumpers, and hanging all new sheet metal on the car. I am going to install hood and trunk hold-down pins. I also have to rebuild the seat and steering wheel mounts.

I will most likely be making separate posts on some of the safety features once I get started on them. Until then, I need to do more shopping....take care for now. 

Thursday, November 2, 2017

Punky Manor - Vintage Stock Car - Tribute Build

Tools - always one more!


One thing I did not really think much about when I decided to build a vintage race car is the additional tools that would be needed. I already own a pretty extensive collection of hand tools, but there always seems to be additional tools that are needed when taking on a project like this.

First off, I do not work on engines or heavy pieces of equipment very often. In the past, I would usually just borrow an engine hoist when I needed one. When the time came to retrieve the 460 cubic inch "boat" motor I had purchased, I finally decided it was time to get an engine hoist.

I ended up buying a 2 ton foldable shop crane. Since I will need to move the engine several times during the build of the race car, it made the most sense to just buy one. I also picked up a heavy duty floor jack for getting the race car up off the ground.


There was also the need to put the engine somewhere to work on once I got it hauled home. Fortunately I built myself a heavy duty engine stand way back in the day. It had been sitting around for quite a while, so i needed to freshen it up a bit. I cleaned it up and put a new coat of paint on, and it was ready to go.


When I started to look at how to do the wiring for the race car, I realized I didn't have any decent tools for the task. I decided to build a fuse block so I purchased a decent soldering gun, a butane micro torch, a decent wire stripper, as well as wire terminal and shrink tube kits. 


A big part of this project is the replacement of the old body panels.The original sheet metal on the Torino has seen some action on the track and it shows. There are crudely applied patch panels. The entire passenger side of the race car is covered with large patches of body filler. 

Instead of trying to repair the roughed up panels, I decided to search and find as many replacement body parts as I could. Most of the body will end up be replaced.

In order to speed up the replacement process, I am prepping all the parts before I haul the car off to the rebuild location. This involves cutting off as much of the inner (dead weight) sheet metal as I can. I will do a separate post describing that process in detail later on.

I have prepped several of the panels already and have a few left to finish up to primer. During the process I did have to buy several new air tools and a ton of sanding and grinding supplies.

Then there are special tools that are very nice to have. In order to hang sheet metal a Cleco temporary fastener tool is very helpful. 

I also picked up an engine lift plate that bolts to the intake of the engine when you need to lift it with an engine hoist.

Another tool that is nice to have for prepping the new body panels is a body hammer and dolly set.

I have quite a few rivets to install during the build so I decided that a pneumatic air rivet tool would be nice as well.

And finally, in order to clean up all the old bolts and threaded fasteners, I ordered a thread restorer tap and die set.


Next time I will cover some of the safety equipment that I will be purchasing along the way. There are certain parts and equipment that are required based on the Vintage Racing Club rules, and other safety gear needed to be safe out on the track. Take care for now.