Monday, July 26, 2010

Danville Mural Art - Part 2

In Part 1 of this post, I mentioned several types of art that will be needed to complete the upcoming Balloon Classic mural project in Danville, IL. Let's walk through what I have prepared up to this point.

First off I said we we would need individual color reference prints of each element of the overall design. These will be handed out to each artist who wishes to work on a portion of the mural. Each person can only cover so much ground so it is usually best to keep their focus on one manageable area. In this case I thought perhaps several of the smaller balloons could be worked on at the same time. So, I brought each element into Photoshop and printed each one as large as I could on a letter sized sheet.


I learned from past events that I spent a lot of time digging through a pile of art to find one color copy for a particular element. This time I decided to get a 3 ring binder and put each art element in its own clear plastic sleeve. This way it will be much easier to flip through and find each part of the design and hand it to the assisting artist, as needed. The plastic sleeves will also help keep paint off the color print while the artist works.


Next up, transparencies will be required to project the mural art onto the wall. As I mentioned before, the size of the transparencies is determined by a couple of factors. One is the size of the platen on the projector being used. My projector will accommodate approximately a 10" x 10" transparency sheet. The other factor is how far away or close to the wall the projector can actually be set up. I have attended Walldog events in the past where the wall was so close to a busy street that there was a limit as to how far away from the wall the projector could be set up. In this type of case, it would be best to split the image to be projected into two or more sections that then could be pieced together when projected onto the wall. I decided to print the lower portion of the art at about 10" wide and try to project that in one piece. If I need to be 100 feet away from the wall in order to get the art to fit in the required space, I might not have that much room at the site. The light would also diffuse a great deal at that distance. So, I printed out the same art in two enlarged sections that could be projected in two sections and pieced together on the wall.


In the photo below and above, there are two printed transparencies of the art blown up in sections and one with the entire image on one sheet.


I also need to think about possible "issues" with the art once I get on site. Occasionally, I discover that projecting the image might not work very well and that a pounce pattern might work better. So it is necessary to bring all the art, stored in every possible format, so I can pull it up and hopefully handle the "issues" as they occur...which can be often!


I usually always bring a copy of the art that has the layout grip printed over the image at a certain scale. In this case I scaled the art at 1/2" = 1'- 0". If need be, I could lay out the whole wall using the grid system. Basically, I would snap chalk lines on the wall at full scale (12" squares) and then use the 1/2" art grid to draw each square on the wall. As you can imagine this is probably the slowest methods for getting the art drawn on the wall. I had two scaled versions of the art printed and laminated at the local Kinko's/FedEx store. I will mount the large prints onto foam core and use them as references for the overall mural layout. Visitors to the mural painting site can also look at the large prints to see what is being painted in front of them.


OK, let's do a little inventory so we don't forget anything.

1. 3 ring binder with color reference prints of all art and projector transparencies....Check

2. 2 scaled prints, one clean version and one version with layout grid....check

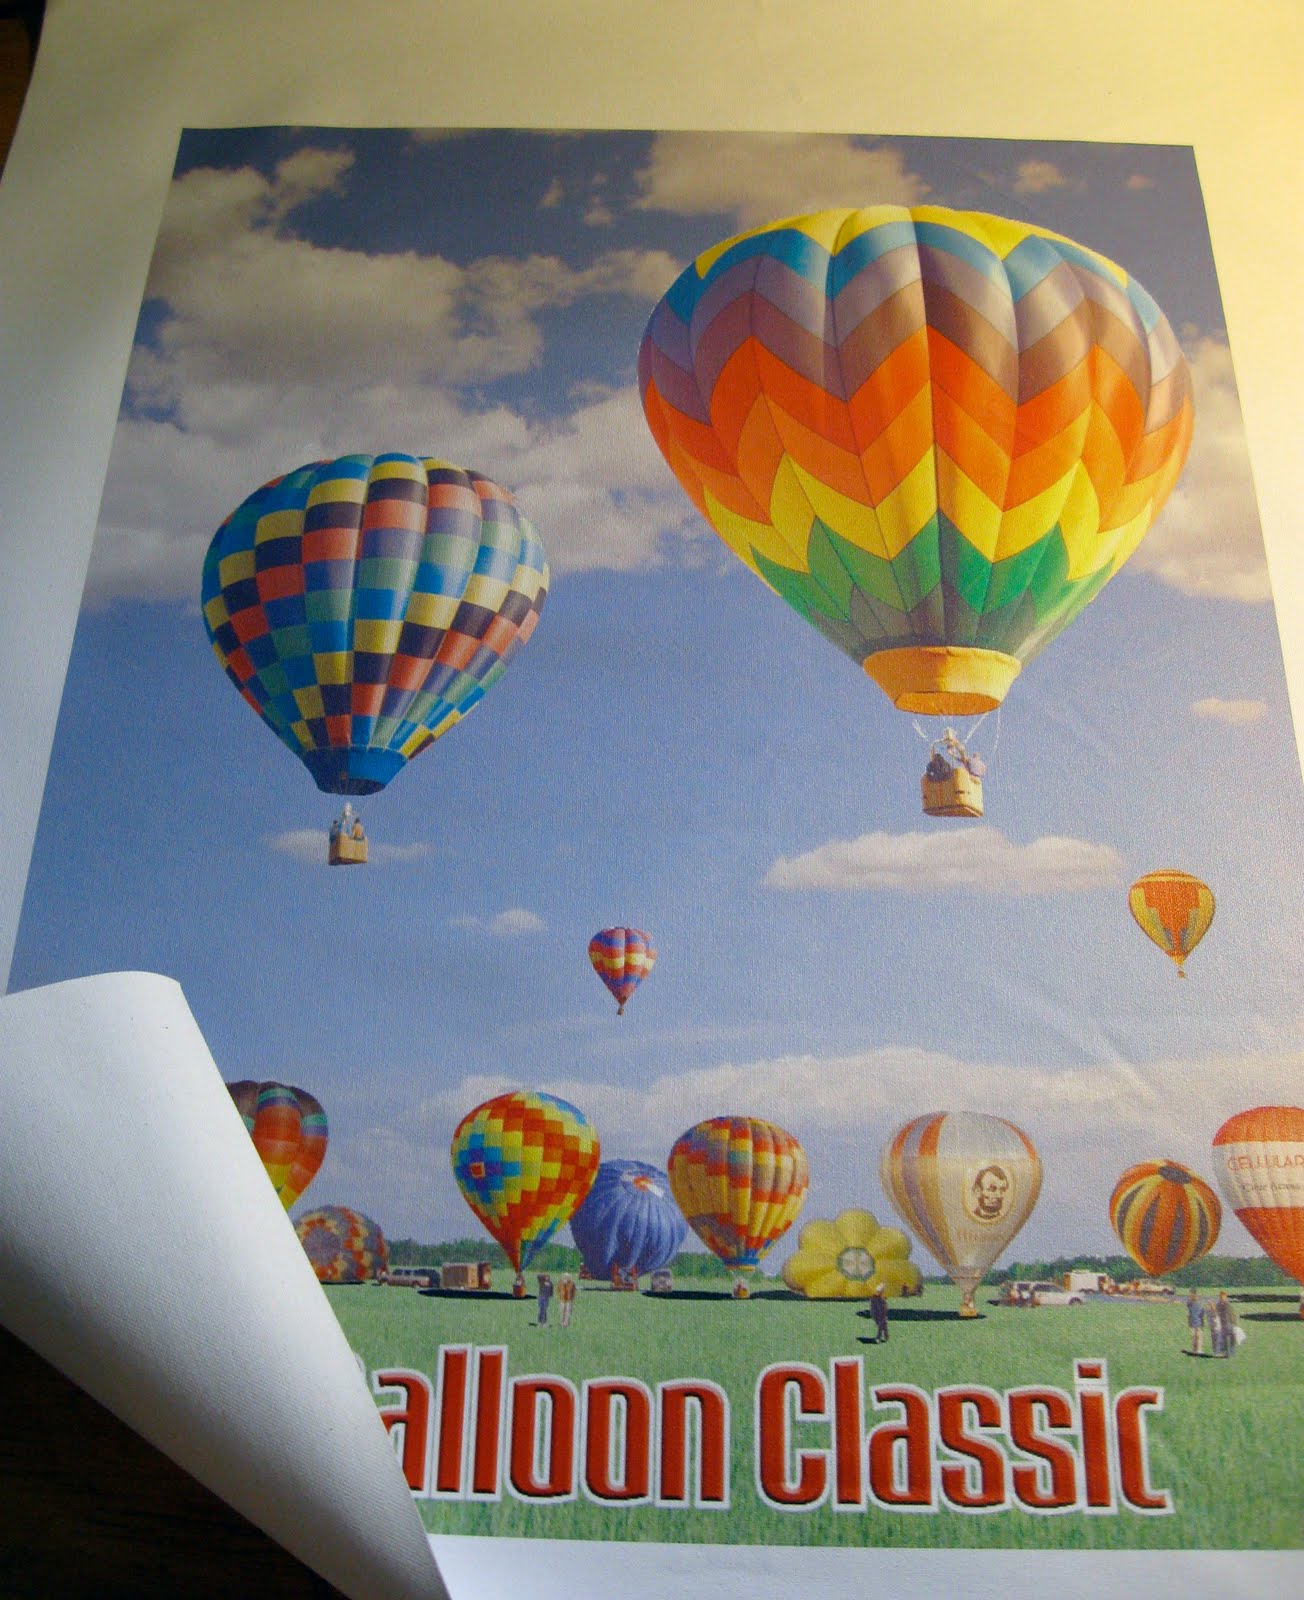
3. Stretched canvas art to be donated to the events charity auction....check

4. Copies of all art on disc, thumb drive and backed up on laptop....check


Next up we should look into some of the equipment that I will be packing up for this trip. Since this mural demands that a fair amount of time be spent in lifts off the ground, we will need to consider that.....next time!

Monday, July 19, 2010

Danville Mural Art - Part 1

In this post, I would like to talk a bit about getting the art portion of a large mural project put together.

The "Walldog" art prep approach that I am going to describe here is quite different than how one prepares art for a solo mural effort. The Project Leaders at a Walldog event need to have "visual aids" prepared for all the artists who will be helping finish the project. The attending artists could possibly range from the very experienced to the newest beginner. So, it is really helpful to have full-color prints made for each element of the overall design.

It is also important to have various transparencies printed out which will be used to project the design onto the wall. If the wall is quite large, it might be best to divide the art in sections which could then be pieced together on the wall while projecting. The section sizes would be determined by the actual image area of the projector itself and how much distance is available for projecting onto the wall. Common sense says that if you only have 10 feet away from the wall before you run out of space, the projected image would be quite small. I will discuss this further in "part 2".

I think I should point out some decisions that I made while developing the Balloon Classic theme for the Danville, Il Walldog event. One of the biggest decisions I had to make was based on the overall size of the wall! The wall for my Danville Project is 29 ft. wide x 40 ft. tall. I drove down to Danville a while back to have a look at the wall first hand. At first glance I made the decision to not cover the whole wall with a primered background. I decided instead to do a dry-brush, faded sky effect in the background which would visually enhance the large balloons in the sky. Or at least that is the excuse I'm going with!

Fact of the matter is, we only have 4 days to complete the project. Most of this wall is above the height of the average human and will require an articulated lift and or a scissors lift. These lifts only allow for a few painters at one time and usually block other artists access lower down the wall. There is also the fact that not all artists are comfortable with being 40 ft. from terra firma.

I did the art for my project using Adobe's Illustrator and Photoshop Creative Suite software. I laid out the art in Illustrator using a scale factor of 1/2" = 1' - 0". So each half inch of the artwork will translate to one 12" square on the wall. I also laid out the art using different layers in Illustrator. Here is a look at the Layers pallet for this particular design.


Working in Layers allows me to either show or hide each element of the design and also to lock or unlock each element of the design. Think of layers as a stack of clear sheets that each have an element of the design "printed" on them. I will try to explain why this technique was necessary in this particular case.

As I mentioned above, I made the decision early on in the process to do the blended sky approach for the mural. I also needed to present a concept rendering of the art to the committee organizing the event for approval. So, I needed one copy of the art with the partially transparent sky and one with the full sky. I would use the full version for the presentation "maquette" and the transparent version to project with.

I was also asked by the organizers of the event to produce a maquette or print of the design which would be auctioned off at the event. Some Walldog events host an auction to raise money for a charity or in some cases to fund the preservation of the murals.

So, once again....we need a clean full version to submit for approval and to use as a reference for the maquette.


Then we need a faded out version to print transparencies for projecting.


I also used the transparent version to do an overlay in Photoshop of the concept on an actual photo of the wall to be painted. This gives the organizers an idea of what the art will look like once it is painted....Hopefully!


My point with all this "gooney-babble" is that I was able to put the sky and other elements on different layers and make them visible when and if I needed them.

Next decision, what to do for the Art piece that will be donated to the Danville charity auction? I contemplated doing a hand painted scaled down version of the art but decided I just don't have the time to do it justice. At last years Walldog event I did a hand rendered version so I do know the time involved in that process. I could have just had a digital print done of the design and had that framed up? I decided instead to have my design printed on Canvas and then stretch it on a frame so it looks more like an art piece. It seemed the best choice in the time I have available.

So, I ordered a canvas print of the scaled art that I created in Illustrator. I ended up saving a version of the Illustrator art as a PDF file and uploading that to the canvas printing company. After a about a week I received the printed canvas all rolled up in the mail. And they even tossed in the wrinkles for free!


I added a couple of inches to the art to provide enough extra material to be wrapped around the stretcher frame. I then pulled out the trusty old Merle frame clamp!


Cut some wood to the correct length...


Clamped it down...


Then stretched the canvas onto the frame with my shiny new Fredrix canvas pliers.....


Framed and ready to donate...


In Part 2 of the art installment, I will discuss getting the transparencies ready as well as a large format reference prints. I better get busy with that then....

Monday, July 12, 2010

Danville Dog Gone Dandy

What is up with this crazy title?

On August 5th - 8th, 2010 over one hundred and fifty artists will travel to Danville, IL from as far away as New Zealand to take part in the "Danville Dog Gone Dandy - Walldog Event. I will be leading one of 15 mural projects at this event. Instead of a long drawn out explanation of the Walldog phenomenon, I will just direct you to the website if you would like more info....

http://www.thewalldogs.com

I decided to do a few posts in honor of the upcoming mural event in case anyone comes across this blog and has an interest? Since I am in the middle of preparing for this event, I thought I would create a series of posts on what it takes to paint a large scale exterior mural.

Let me try and explain what has happened up to this point. The person or committee who is responsible for organizing the mural event basically does a lot of the up front work. They tour the city or town where the event is going to take place and look at sites that might work for a historically based mural. At the same time the person organizing the event might be thinking of who might be crazy enough to lead one of these projects. Usually the Walldog (Letterhead member) organizing the show, makes suggestions or matches particular artists with the themes being painted. In this case a fella named of Cornbread is working with the good people of Danville to organize this particular event.

Anyhoooo, I'm not sure how I was selected to lead a project, probably drew my name out of a hat? But I am honored to be leading another mural at this Summer's main Walldog event. A while back they sent me site location photos and size of the wall I was to design the art for. My theme ended up being the Danville Balloon Classic hot air balloon event. I was first told that my wall was 65 feet tall and 30 feet wide!!! Then, after closer inspection, the wall was determined to be just 29 feet wide by 40 feet tall!!!! And here I thought it was going to be a big wall???

I took the photos and info they sent me and transformed it into the art below...


So now that I have the art approved, I need to start thinking about what to bring along to complete this rather large painting. First thing that I know I need, no matter what I am doing, is MUSIC! Can't do nothin' without good tunes. About 6 years ago I decided to build a somewhat portable set of speakers for my iPod. I had purchased a set of Altec Lansing 100 watt powered computer speakers for home use and thought they would work well for mural painting on the road also. I went ahead and purchased a second set for the road!

Below is the contraption I came up with...


I actually started out with two old wooden speakers and mounted them together end to end. I then found and old repair case that had a pop-up handle and wheels. I snatched those off the old case and added them to the speaker box. I cut the one end off the wooden box just big enough to house the satellite speakers. The sub woofer ended up going in the other side of the wooden box. The unit is powered by my iPod and includes a remote control for volume adjustment.


I actually have a 60 gig iPod that I usually use with this but it isn't here at the moment.....needed at work. So, I just wheel this out to the mural site, open it up and plug it into the closest outlet. It charges the iPod as it plays and I just grab the remote for volume control and I'm ready to paint!


This box has played in New England.....up yonder in Mazeppa, MN and around the Midwest and Great Lakes. Who knows where we're headed next? Oh yeah, Danville!


Next time I post we will look at some other equipment and tools that need to be packed up for the event. We will also need to go over what art needs to be brought along to accomplish this task.

For know, fare ye well.

Tuesday, July 6, 2010

Coming Back to Life

Wow...life sure swept me away for a while!!!! I haven't made the time in my life to post a new blog page here since shortly after my daughters wedding last September. Sometimes life has a way of taking over and shifting priorities for you!

I have to say that last year was one of the most difficult and stressful of my life! I started out the year not liking where I was living, so early in the year I began looking for a house to buy. After viewing 26 different homes, I finally made an offer on one of them in May. I was going to be a project leader for a large mural painting project in Pontiac, Il at the end of June so we moved the closing date out to July 10th. Just before the mural event my father had emergency surgery and was then put in a coma to recover for week.

That was the same week the mural event was scheduled in Pontiac. Some Walldog friends of mine suggested that I go ahead and go to the mural event because I wasn't going to be of much help to my Dad in his condition. I decided that he wouldn't want me just sitting around on his account so I went to the mural event and ended up dedicating the mural to my dad. Unfortunately, my Dad didn't pull through and ended up passing away on July 5th, 2009, His funeral was scheduled for July 9th in Menomonie, WI and I was scheduled to close on my house in Milwaukee on July 10th.

After all that I had to focus on finishing up the programs and slide show for my daughters wedding. She got married on September 12th and the wedding went off very well in spite of all my worries!

In Pontiac I had met a local girl who was painting on the Coca-Cola mural across the street from my project. We started dating shortly before my daughter's wedding and have been hitting it off really well since. We are now planning a life together and are looking forward to many happy years together.

So that's my excuse for being so casual about posting on this blog. But let's get back to the reason for this blog in the first place.

In my last post I was talking about setting up a studio space to work in my basement so I could do some smaller oil paintings. I did get my easels set up and completed a painting for my daughter which I ended up giving to her for Christmas.


Early in January I completed some work for the World of Wheels - Pinstripe Legends Charity event in Milwaukee, WI. At this event, artists from around the country come to the event to paint auto themed art panels to auction off with all proceeds going to the Children's Hospital of Wisconsin. I painted a couple panels for the event which were donated to be sold at the auctions. Overall we raised over $46,000 at the event.

This is one of my panels....Lettering enamel on painted steel


This panel painted by Ray Drea and signed by Chip Foose ended up bringing over $5000!!!


At the Milwaukee event I was invited to the World of Wheels charity event to be held on March 6th ands 7th in Chicago. I was told that there was going to be several vintage drag cars at the show so I decided to do a fine art style oil painting on canvas for the event. Since there was going to be a few of Don Garlits' Swamp Rat Dragsters at the show I used that as the theme for my painting. I ending up painting a close-up of one of the blown hemi engines used in Don's dragsters.

Here's the finished piece....


I also finished up a couple additional metal panels for the event...


The Chicago event was able to raise over $59,000 for the Ronald McDonald House Charities of Chicagoland.

The next event coming up in my life is the Dog Gone Dandy Walldog mural painting event in Danville, IL. I will be leading one of 15 murals with 165 artists scheduled to attend. My theme for the event is the Illinois Balloon Classic event. My wall is about 29 feet wide by 40 feet tall. This one should be interesting! 15 mural 4 days!

Here is the art proof for my project....


And how I hope that it looks at the end of the Walldog event!


Well, That's it for now. Hopefully I can manage to post again before another 6 months passes by......peace