Showing posts with label Studio. Show all posts

Thursday, March 18, 2021

Punky Manor - Vintage Stock Car - Tribute Build

Body and Paint - Part 4


Now that the Tribute Torino is up to the point where I can apply the topcoat colors, I'd like to expand on my paint color and paint system decision making. 

First up is the choice for paint colors.

Since I only have a couple pictures of my late Cousin Punky's original Torino race car, I am pretty much guessing what colors they used back then. When Punky built his Torino in early 1974, his Dad Neil Sr. was fixing up and selling early 1970's Ford pick-up trucks at his used car lot. I am sure they had some of those truck colors laying around. It also seems that they didn't paint the Torino with bright white? Wimbledon White was a very popular color for both Ford cars and trucks for decades, so that seemed the most logical choice.

On my first attempt at having colors mixed, I went to a local automotive paint store and we looked up the colors that were actually used on the 1972 - 1973 Ford Torinos. I had them mix up a pint of code 9C White and code 6C Medium Yellow Gold. Ford made 3 different colors of yellow for that year Torino and they looked different on every paint chip chart I looked at.

I bought a small amount of each color so I could do a color test before I spent a lot of money on paint that might not look right. I painted up a test panel and discovered that I didn't like the yellow color at all. It just looked too much like brown mustard and was too grey and dull (see below right). So, I painted another panel using a spray paint color called Marigold. The new color looked a lot closer to the yellow in the photos of Punky's car.


Another thing that I discovered after painting and lettering the first test panel was that the lettering I used for Punky's name was too thin. I am using this lettering on the roof of the race car, so I want it to show up well.

More about colors coming up, but let's talk about paint type. Most modern cars are painted with catalyzed urethane base color with catalyzed clear over the base. No offense to anyone out there, but I'm building a tribute to a car that was built and painted in 1974. Base/clear paints were not used until the 1980's and then they were only sprayed on high-end luxury cars. Punky's original Torino was most likely painted with single-stage Acrylic Enamel. Not sure about anyone else, but I can tell the difference between the two systems by looking at the car. It would be like putting computer cut vinyl lettering on a vintage race car instead of hand painted lettering. It has to look period correct.

Now I had to think about how to get the two different colors on the car. I have a high-end SATA professional spray gun, so that part was covered. The weak link was my smaller sized air compressor. The weather was also a factor. It was going into the end of September and early October and I had to have high enough temps to spray the paint. 

I think it would be regular practice to paint the whole car white first, then mask off the white areas and paint the yellow second. I decided to mask off where the yellow was going and only paint the white areas first. I was betting that this would be a better approach so my small air compressor could keep up. 

The end of September (2020) rolled around and I caught a nice warm day, opened up the white paint and it was not even close to what I had asked for. I was looking at a gallon of paint that looked like 1984 computer beige, not Wimbledon White. I had to run back to the paint store and buy another gallon of bright white acrylic enamel. I then used the ugly beige color to tint the bright white. Finally I could get some proper Wimbledon White paint on the car.
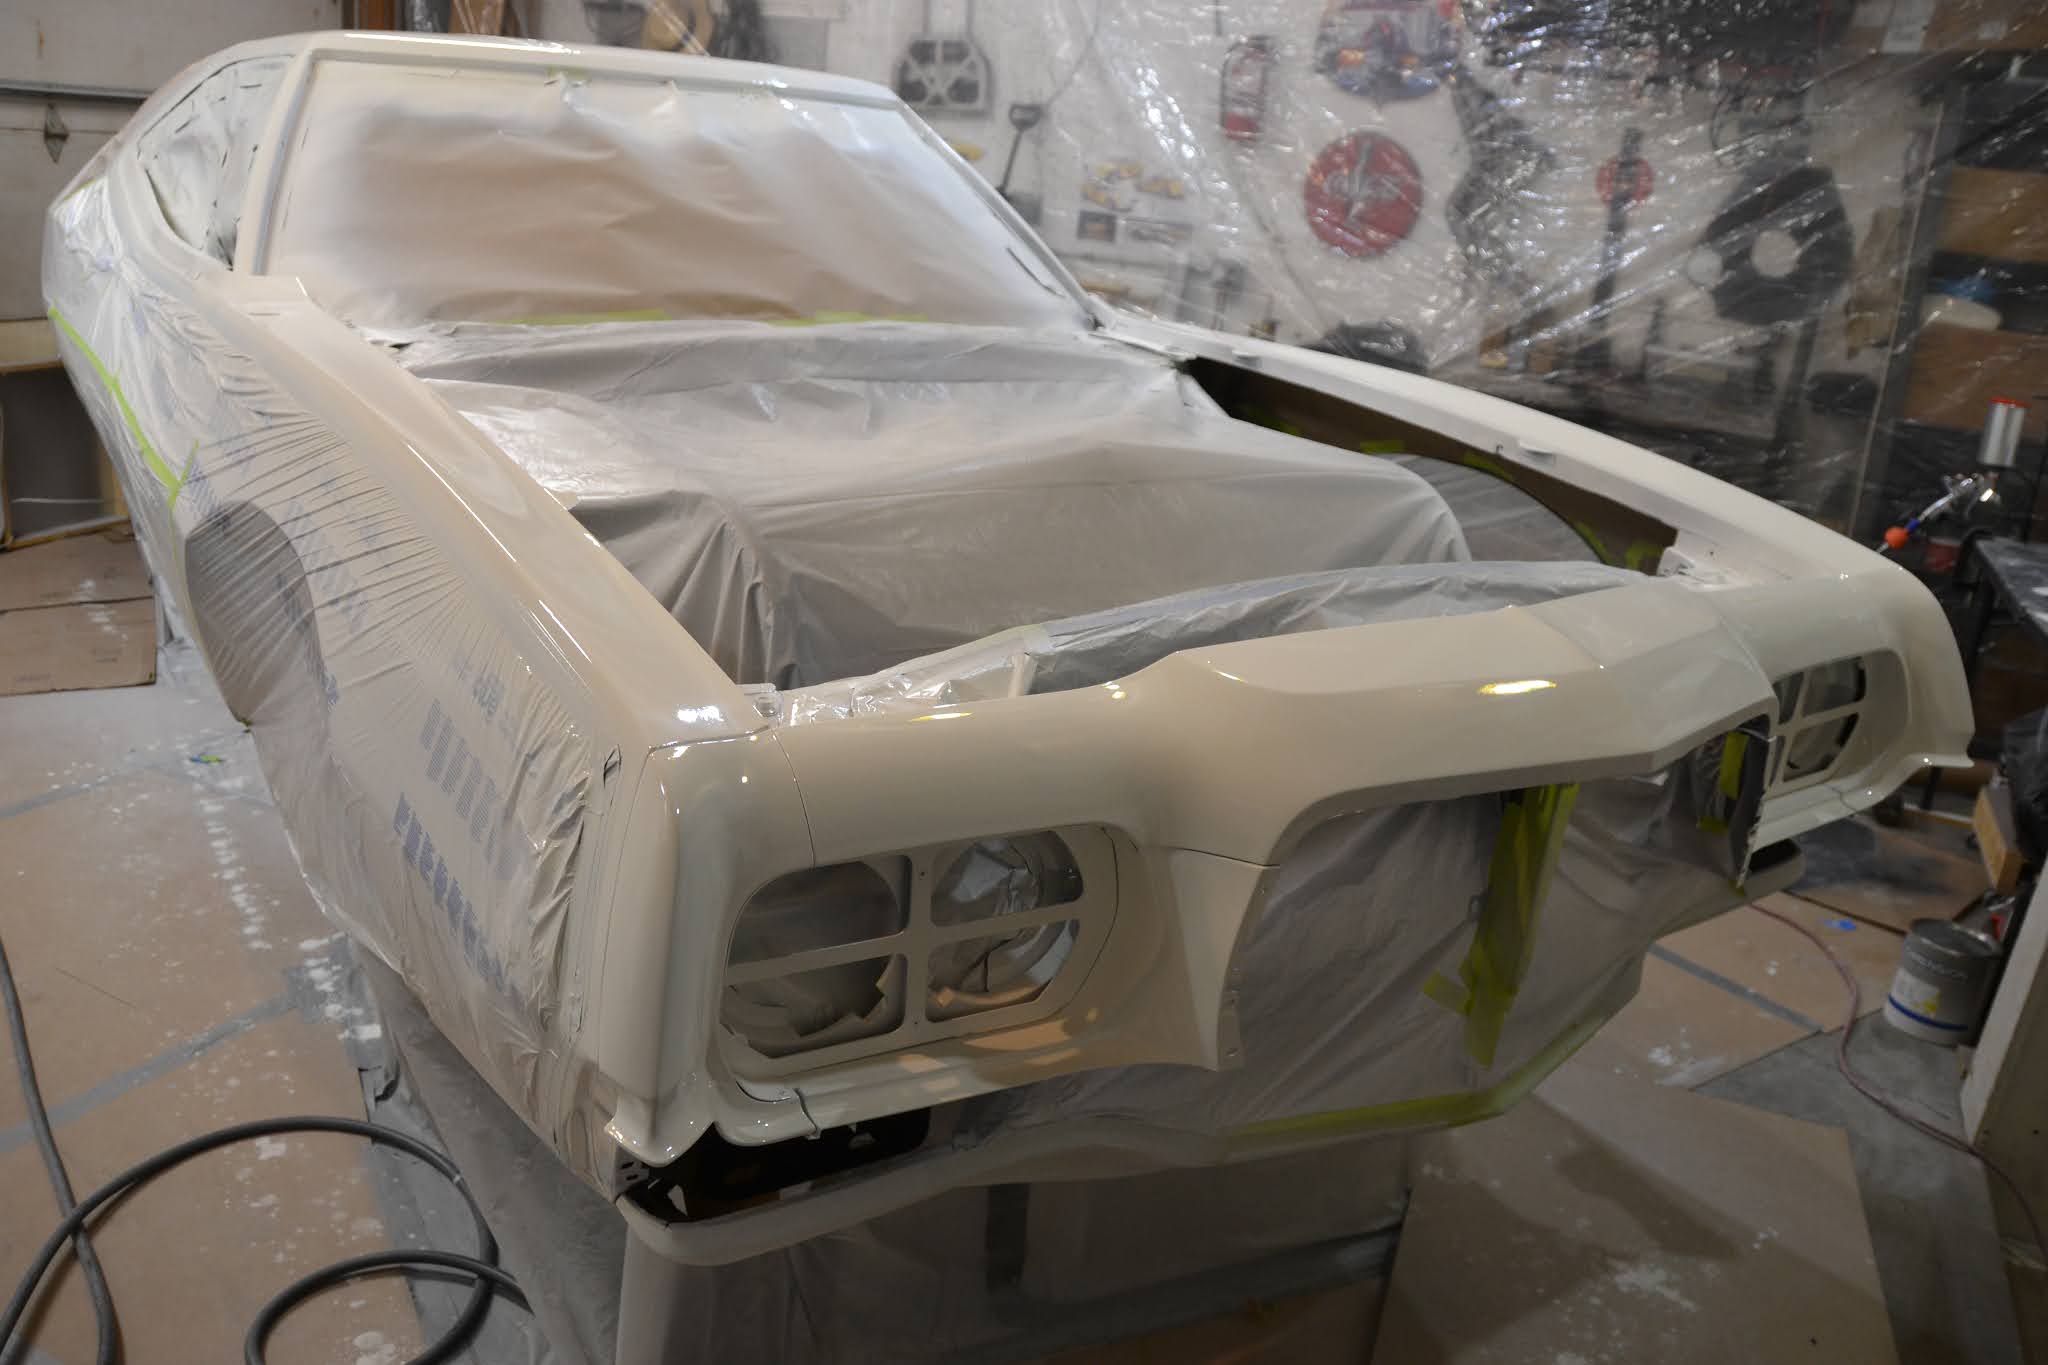


Next up it was time to mask off all the Wimbledon White parts of the car and paint the yellow. For the yellow color, I just took the test panel to the paint shop and found the closest match that I could. I wasn't too worried about where the two colors butt up against each other because I was planning on painting a 1/4" black hand painted line over the seam.


After letting the white paint set-up for a couple weeks, I was ready to mask off the white areas and get the yellow paint sprayed on while the weather was still good. I caught a break on October 9, 2020 with higher than normal temps and got the 2nd color shot on the race car. 


After 5 years of chasing parts, replacing most of the body, and pretty much rebuilding everything under the exterior sheet metal, the race car finally has paint on it. I can't even begin to guess how many hours I have invested. I do however have a really close idea on what the cost of the project is. Through the whole project, I have been saving receipts and entering them into the Quicken program, to track what I've spent. Let's just say it held up to my old rule..."figure out what you think it will cost and triple it". 

Next up is getting some custom built stainless steel headers on the engine. I have about 50 more little projects to complete before I can finally do the hand lettering. This, by far will be my most favorite thing to do on the entire project!

Take care for now. 

Thursday, March 11, 2021

Punky Manor - Vintage Stock Car - Tribute Build

Body & Paint - Part 2


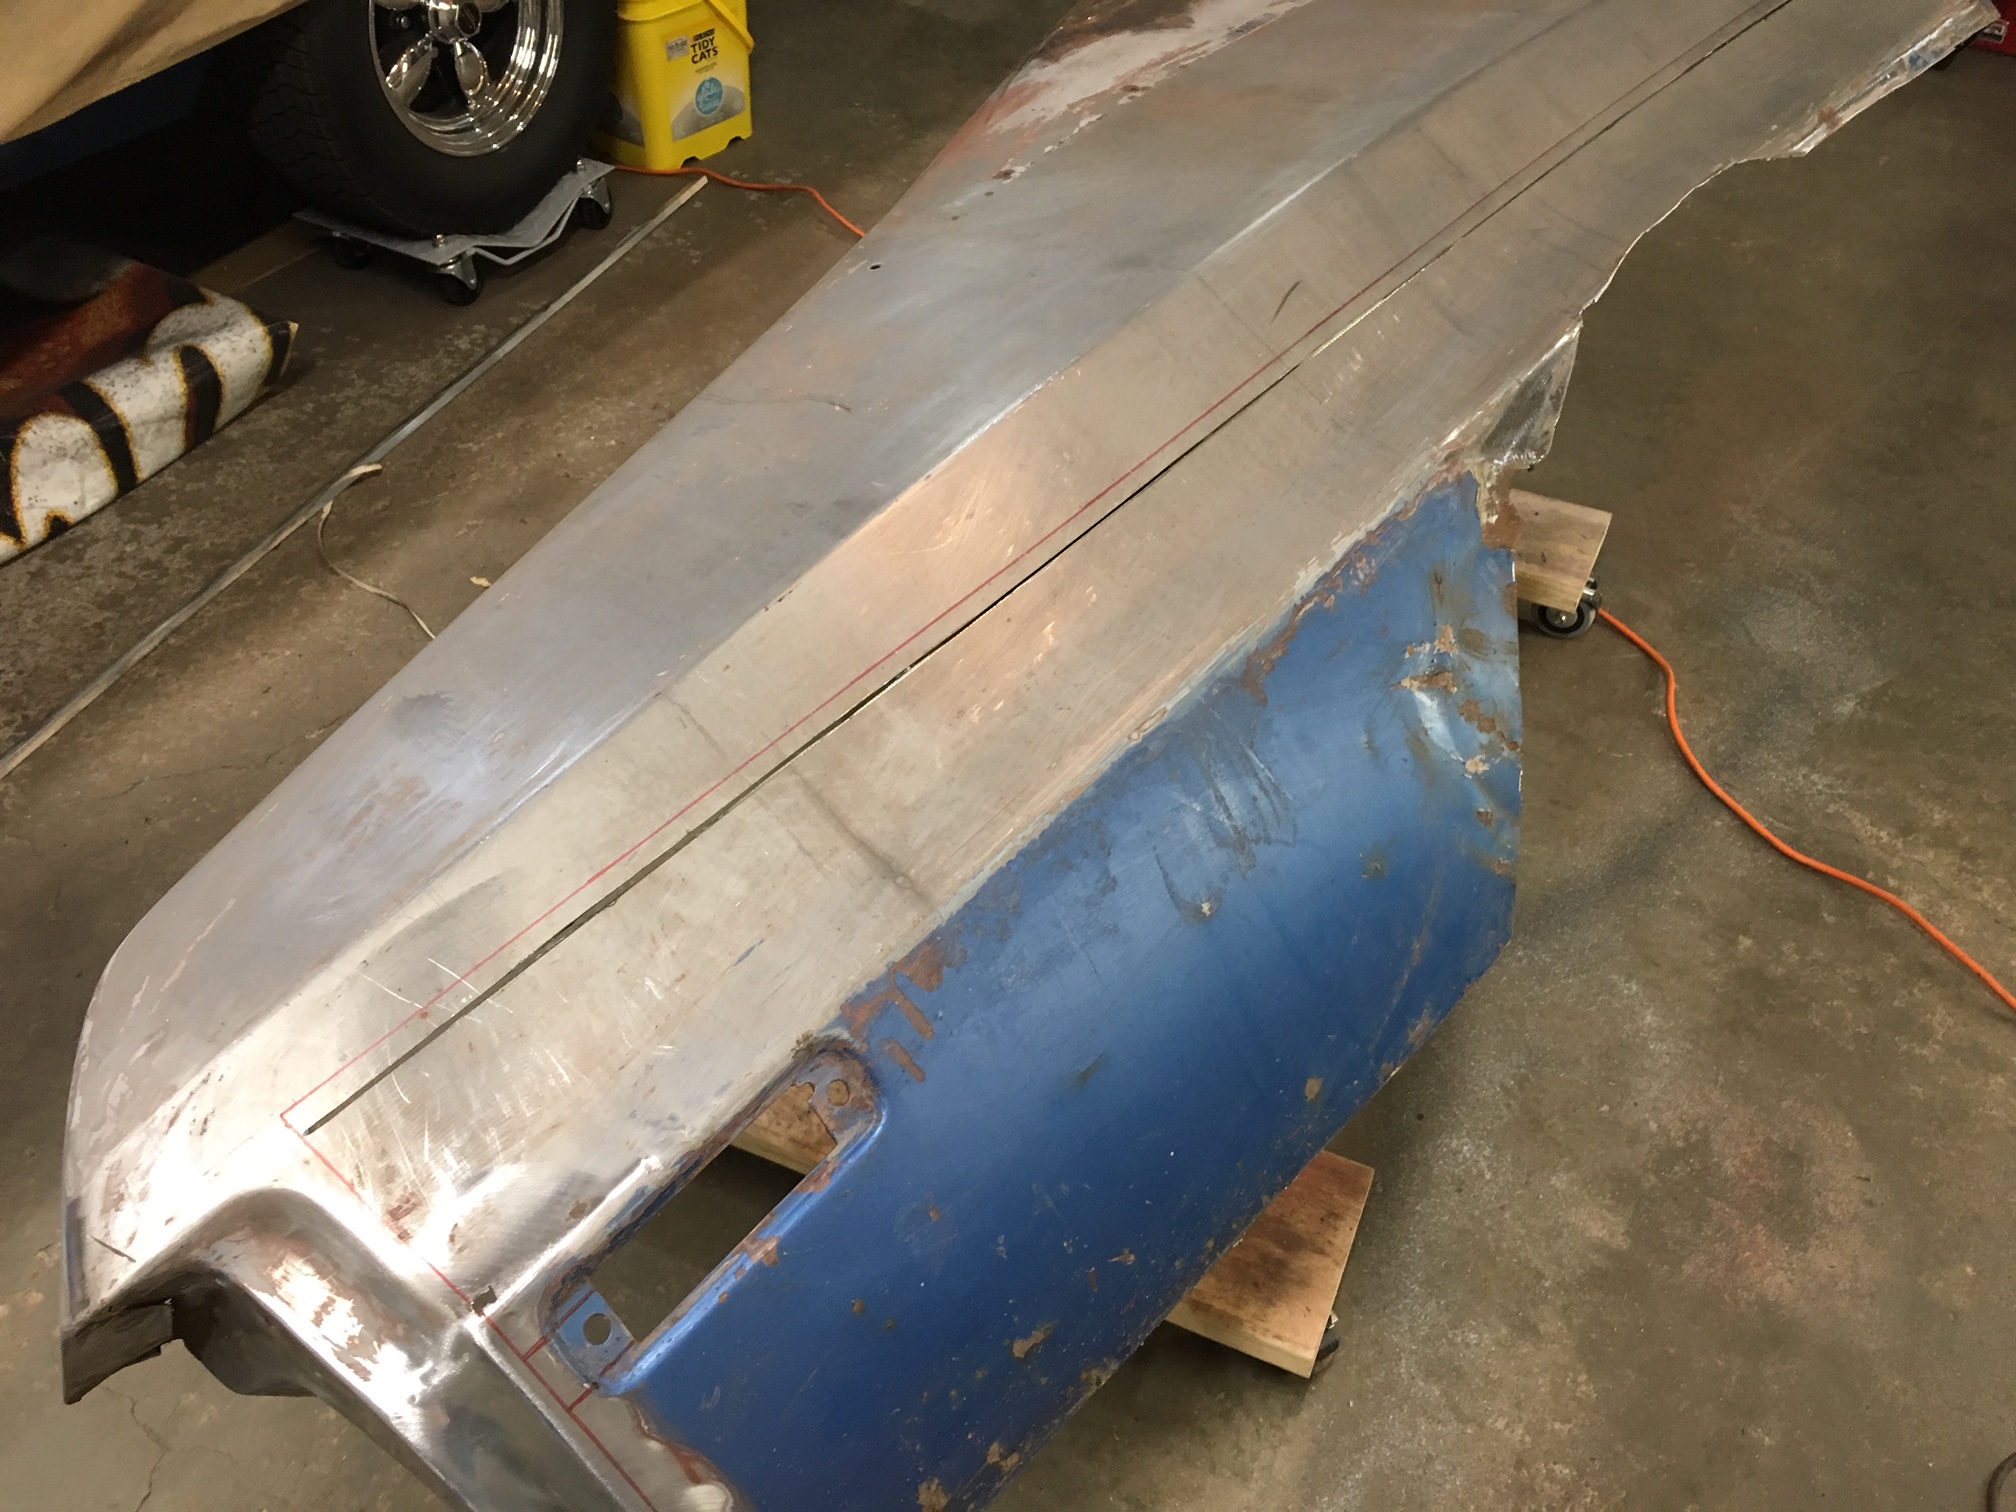
One of the biggest challenges for getting the Tribute Torino ready for paint was finding nearly 50 year old replacement body parts. A lot of older muscle cars have a wide variety of replacement body panels available. That is not the case for the 1972 Ford Gran Torino Sport. There are no front fenders available, and only poorly made patch panels for the lower half of the rear quarters.

In my last post, I covered some of the 5 years of adventures that were required to track down all the parts I needed to do the repairs to the body. I ended up having to find two passenger side rear quarters, cutting them down and welding them back together to make one full rear quarter.


After Welding the two halves together, I filled the weld area with fiberglass reinforced body filler. After that was leveled out I applied a few coats of lightweight auto body filler and then primed the quarter. I also finished the inside of the rear quarter so that the welded seam could not be seen when the trunk is open.


Since the front fenders are not being reproduced, I drove down to Kansas City to pick up a pair from a FaceBook Torino Group member. They were in fairly decent shape but did need some repairs once I cut off all the unwanted sheet metal.


I fabricated patch panels for both fenders. The lower part of the drivers side front fender was the roughest of the two.


So, the right rear quarter panel is ready for assembly as well as both front fenders. In my next post I will continue on with the rest of the body panel prep. I also have a funny story to share about how not to unload a race car. Take care for now.

Wednesday, August 12, 2020

Punky Manor - Vintage Stock Car - Tribute Build

The Builder


I have learned a lot during the process of building the Punky Manor Tribute Torino over the last 5 years or so. For about 45 years, I have been working on cars as a backyard, weekend mechanic, but I am not a professional by any means. I have spent the last 25 years or so working in Product Development as well the Prototyping industry. Somewhere along the line I did acquire a Bachelors Degree with a concentration in Industrial Design and also put in a couple of years of Mechanical Design at a Tech School.

My only other complete car project was the restoration of a 1969 Chevrolet Camaro that I bought from my Sister back in 1980. I did some of the fabrication on the car and had some help with the roll cage and frame updates. We did put a narrowed rear end and full wheel tubs in it. I did most of the body work and painted the car about 30 years ago.


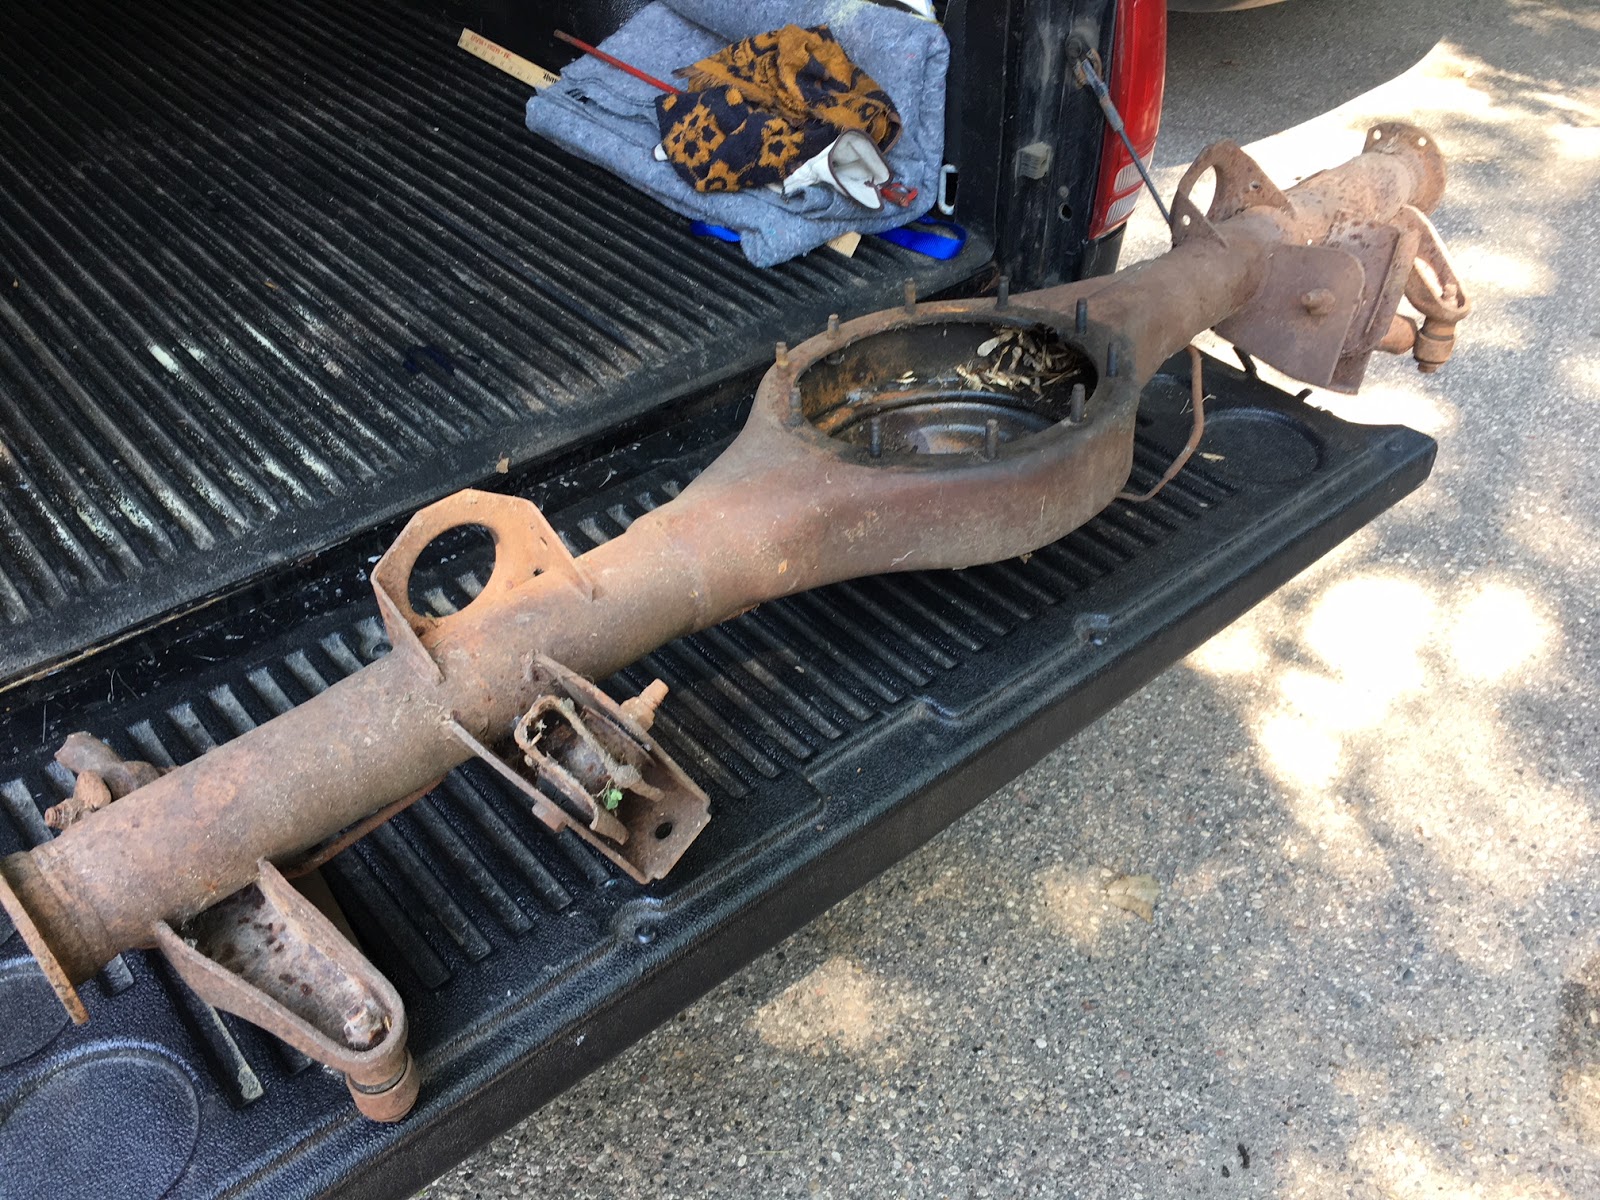
On the Torino project I have had to completely learn some fairly complex fabrication techniques. The Frankland Quick Change Rear end was the first of those learning sessions. I bought a vintage Frankland that came out of a Sprint Car. The center section was offset to the left side quite a bit and there was no way to mount this rear end to the Torino's suspension.

I ended up going to the local Ford salvage yard where I picked up a 1972 Mercury Montego 9" Ford donor rear end. I had the rear end housing sandblasted and then welded a heavy duty metal jig in place so nothing would move when I cut the brackets off. I then had to carefully cut off the metal thickness of the old rear end tube in order for the brackets to fit over the new axle tubes. I located the factory brackets on the Frankland quick change tubes and then welded them in place. And finally, I cut the spot welds off the location jig and removed the fixture from the quick change.


After spending numerous hours repairing the rear end frame mounting locations on the Torino, I installed the Frankland quick change in the race car.


My next learning experience was installing a complete brake system. I had done some minor brake work when I built the Camaro, but the Torino needed a complete brake job. I bought a rear disc brake conversion kit for the Frankland quick change and installed that. 


When I took ownership of the Torino, there was only a partial caliper set up on the driver side front wheel. The rear brakes were completely missing. There were some old brake lines still in place but they were either cut off or very rusty.

I ordered a new brake master cylinder and had to learn how to bench bleed that before I could install it in the car. Through some other research I figured out that Nickel Copper brake lines were the way to go. I ordered up a few brake line tools and a flaring tool kit. The first flaring tool was poorly made so I ordered a completely different style tool that worked much better. 

After installing all the new brake components (front and rear), I used 1/8 inch wire to mock up the bends in each line. I then had to flare all the ends of the brake line. 

Upon trying to bleed the rear brakes, I discovered that the proportioning valve that I bought was not working correctly, so I ordered and installed a better quality part. 


The next challenge coming up is the drivetrain. During one of our engine test fitting sessions, we measured the length of the driveshaft. I went down to the local Ford salvage yard and found a "new" (1973 full-size Ford) driveshaft. The safety rules require that each race cars driveshaft must be painted white and have the number painted on it. I hand lettered the car number on both sides of the driveshaft using lettering enamel.


The bigger challenge is trying to get the transmission mounted to the engine and making it functional! I have covered this a bit in previous posts, but I am now at the point where I have to make it work.

I guess I could include a picture of my first attempt at setting up the transmission and hydraulic throwout bearing...


About 2/3's of the parts on the white paper above had to be returned. I am currently waiting for the second wave of parts, so I can try it all again! I think I will expand on that adventure in my next post.  Take care for now.
Wednesday, July 8, 2020

Punky Manor - Vintage Stock Car - Tribute Build

Three steps back for each step forward - The Process


When I originally acquired the Tribute Torino, I thought it was going to be a pretty straight forward build. Just clean things up a bit, replace a few panels and then paint it up. After hundreds of hours spent on this labor of love, I am still trying to figure out what to do next.

Last year I spent about 8 months just fixing the interior, floor, trunk area, and engine compartment. Earlier this year, I started to think that all I had left to do was replace most of the body, prep for paint, and then get the main colors sprayed on. Once again, I miscalculated how many other things needed to be addressed before I could put all the new body panels on. 

I decided to start from the back of the car and work my way forward. When I initially brought the car up north to put it in storage, we ended up damaging the only good corner of the car. We were rolling the Torino off the car transport trailer (with no brakes) and it missed our tire blocks and instead crashed into an 8" X 8" wooden post. This collision flattened out the (hard to repair) rear quarter section just above the drivers side tail light. 


Since I have not replaced many entire car bodies before, I decided to start with the smaller patch panel on the drivers side rear quarter and work my way up from there. I picked up the upper portion of the rear quarter at a Ford salvage yard over in Hastings, MN. off the blue/gold car below.


Above is a photo of all the panels I have purchased over the last 5 years. I have removed all the old paint, cut off all the dead weight, and then shot the panels with white primer.

I first marked off where the new patch panel was going to be located on the race car. I used a cut-off wheel to cut the old metal off the car, then welded in the patch panel. I used a pneumatic punch/flange tool to create the overlap seam and punch "spot" weld holes.


Next up, I started in on the worst side of the car...the passenger side. Apparently the whole passenger side of the car had been through some tough times and been through some questionable repair sessions!


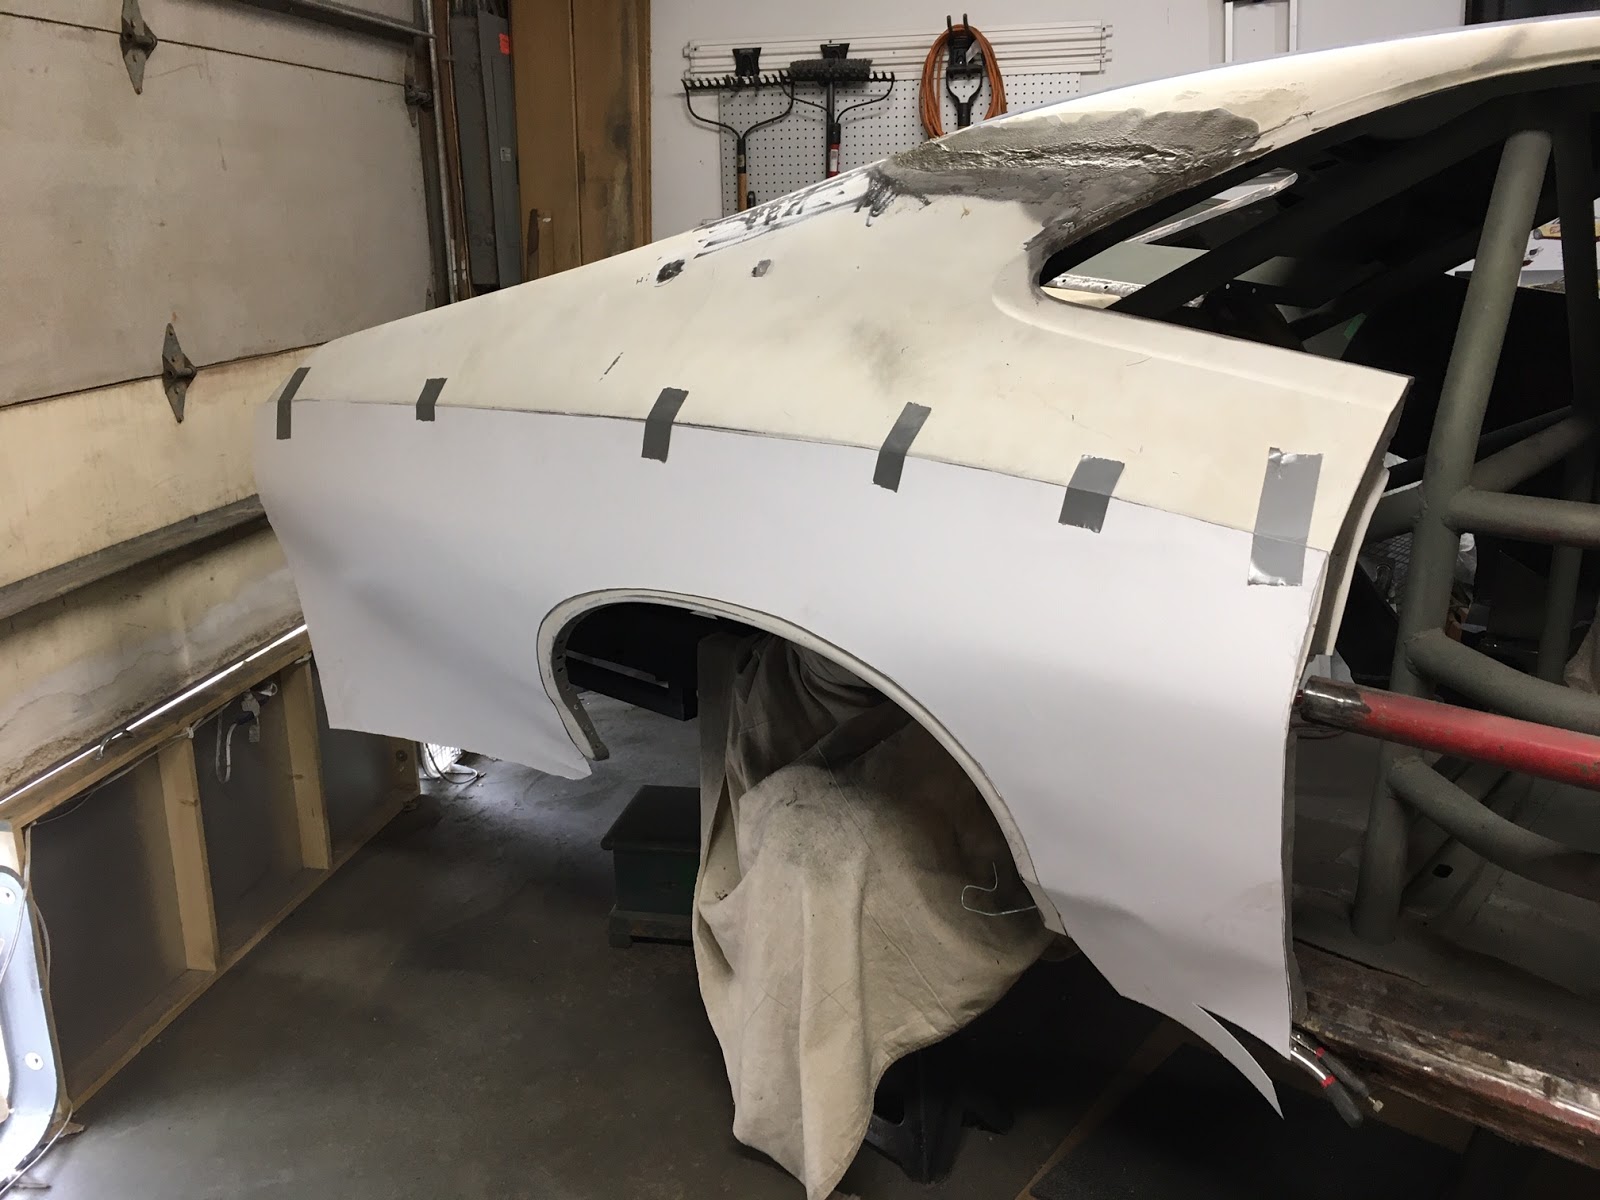
Finding good sheet metal for this 40+ year old car was pretty challenging. I was able to find two different passenger side rear quarter panels and then weld them together to make one full quarter.


After installing the new rear quarter, I made a paper pattern and then cut the wheel opening large enough to fit the McCreary racing tires. I used a homemade tool to roll a 1/4" lip around the wheel opening.


Next up I had to replace both of the rocker panels. I guess the best way to show how poor of condition the rockers were in would be to just show a couple images of them on the car.


Yes, the picture above is actually Great Stuff spray foam that someone pumped into the rocker panel.

The new rockers were carefully located, welded on, and then I tack welded tabs on to hold the doors in place for test fits.


Well, I would like to say that I am now ready to weld the doors and fenders on and finish all the body work, but that is not the case. I need to install a new rear brake proportioning valve and decided to place it next to the seat, so it is easy to adjust. Before I weld the drivers door on though, I need to run the rear brake lines through the interior of the race car. Before I run the brake lines, I really should paint the interior, the underside, the engine bay, and the trunk area with semi-gloss black paint. 

So I need to perform about 20 or 30 more steps before I can finish installing the body panels. I will include a couple photos here with the body panels hung on the car for a fit test.


Thanks for stopping by and take care until next time!