
Restoration Begins - Summer 2019
When I first stumbled on to the Gran Torino down in Racine back in May of 2015, I knew it needed a lot of work. I convinced myself that building an old dirt track race car would be a lot easier and less expensive than building any other type of street car. After all, you don't have any trim, no glass, pretty much no interior. It's just a frame, roll cage, engine, and four tires and wheels, right? Boy did I learn otherwise.
On my initial walk around of the car, I didn't think it looked too bad. The roll cage looked pretty decent, it had coil spring buckets installed on all four corners, and was already set up for racing. After looking closer and closer, I found more and more things that really needed to be fixed or replaced. I don't want to bash any of the previous owners, but the old Gran Torino Sport had seen a rough life!
Before I get into this too far I should present a little disclaimer. I know very little about the history of this car. I do know that it was raced on some asphalt tracks in Southeast Wisconsin. Before anyone is feeling bad about this classic car being turned into a race car, from what I have discovered so far it would not have made a good candidate for any kind of high end restoration!
I will explain my above point in more detail in this post.
Here are a couple pictures of the exterior of the car as it was when I took over ownership.
 |

And here are a few pictures of the interior structure...

Dash Area

Rear Seat Area

Engine Bay
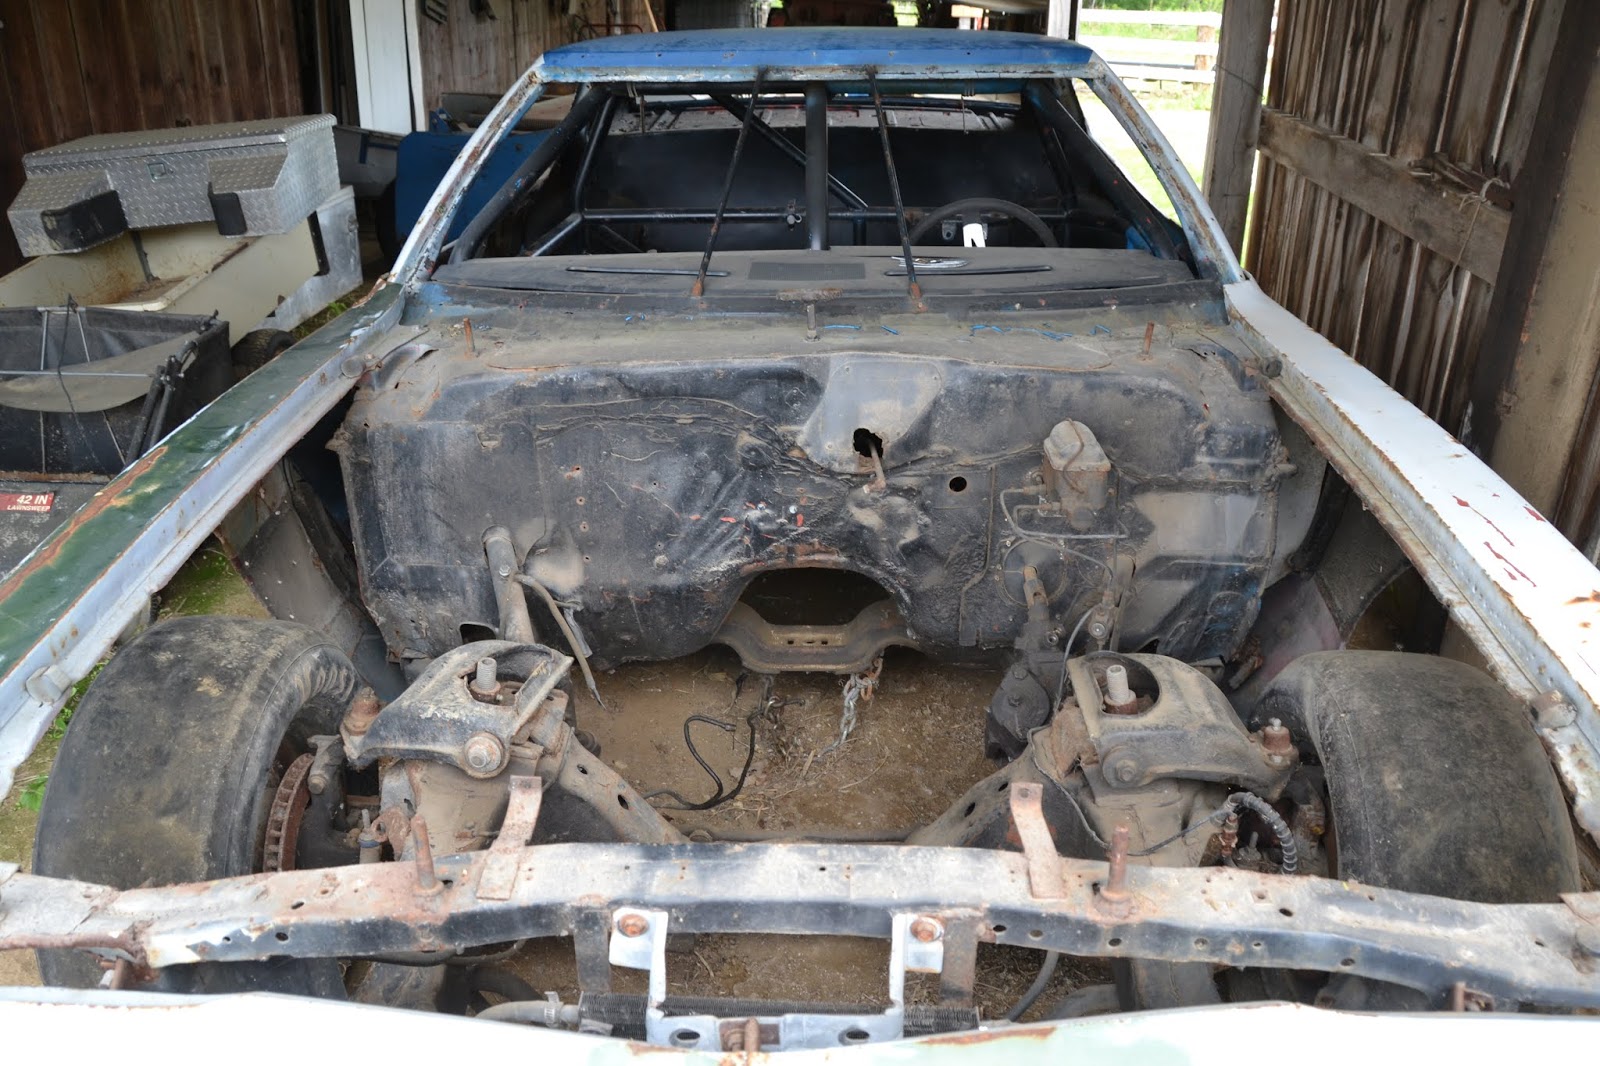
Trunk/Rear End Area

In the process of prepping several smaller parts, I was able to locate a sand blasting shop not far from our home. I made the decision to to take the Torino down to get the frame and some other areas blasted before I hauled it home to my garage.
After the sand blasting was completed, I could really see what I had to start with. The rear frame especially was pitted once all the rust was removed. The front frame looked much better, but still needed some attention.

Passenger Side Front Frame Rail

Driver Side Front Frame

After pulling out all the old tin that had been installed by previous owners, I found the back seat area rather disturbing. I started having quite a few of those "what the hell was I thinking" moments! Before I let it overwhelm me I decided I needed a plan.

I decided to start on the rear end of the car and work my way to the front. Before I could start putting on any sheet metal, I had to determine where the rear tires would be situated so I could cut the wheel opening in the "new" quarter panels. Before I could do that I needed to install the Frankland quick change rear end. Before I could install the rear end, I needed to clean up the control arm mounts, reinforce the rear frame rails, fabricate fuel cell mounts and remount the rear trunk support and body mounts.
In the picture above it is pretty clear that a lot of work had to be done to rebuild the rear seat structure because there is basically nothing holding the rear quarter panels in place.
Like the old saying, take ten steps backward to take one step forward.
I have actually made some pretty good progress on that exhausting list above. This coming weekend I am hoping to put the Frankland quick change rear end together and get it in the car....wish me luck, take care.
No comments:
Post a Comment